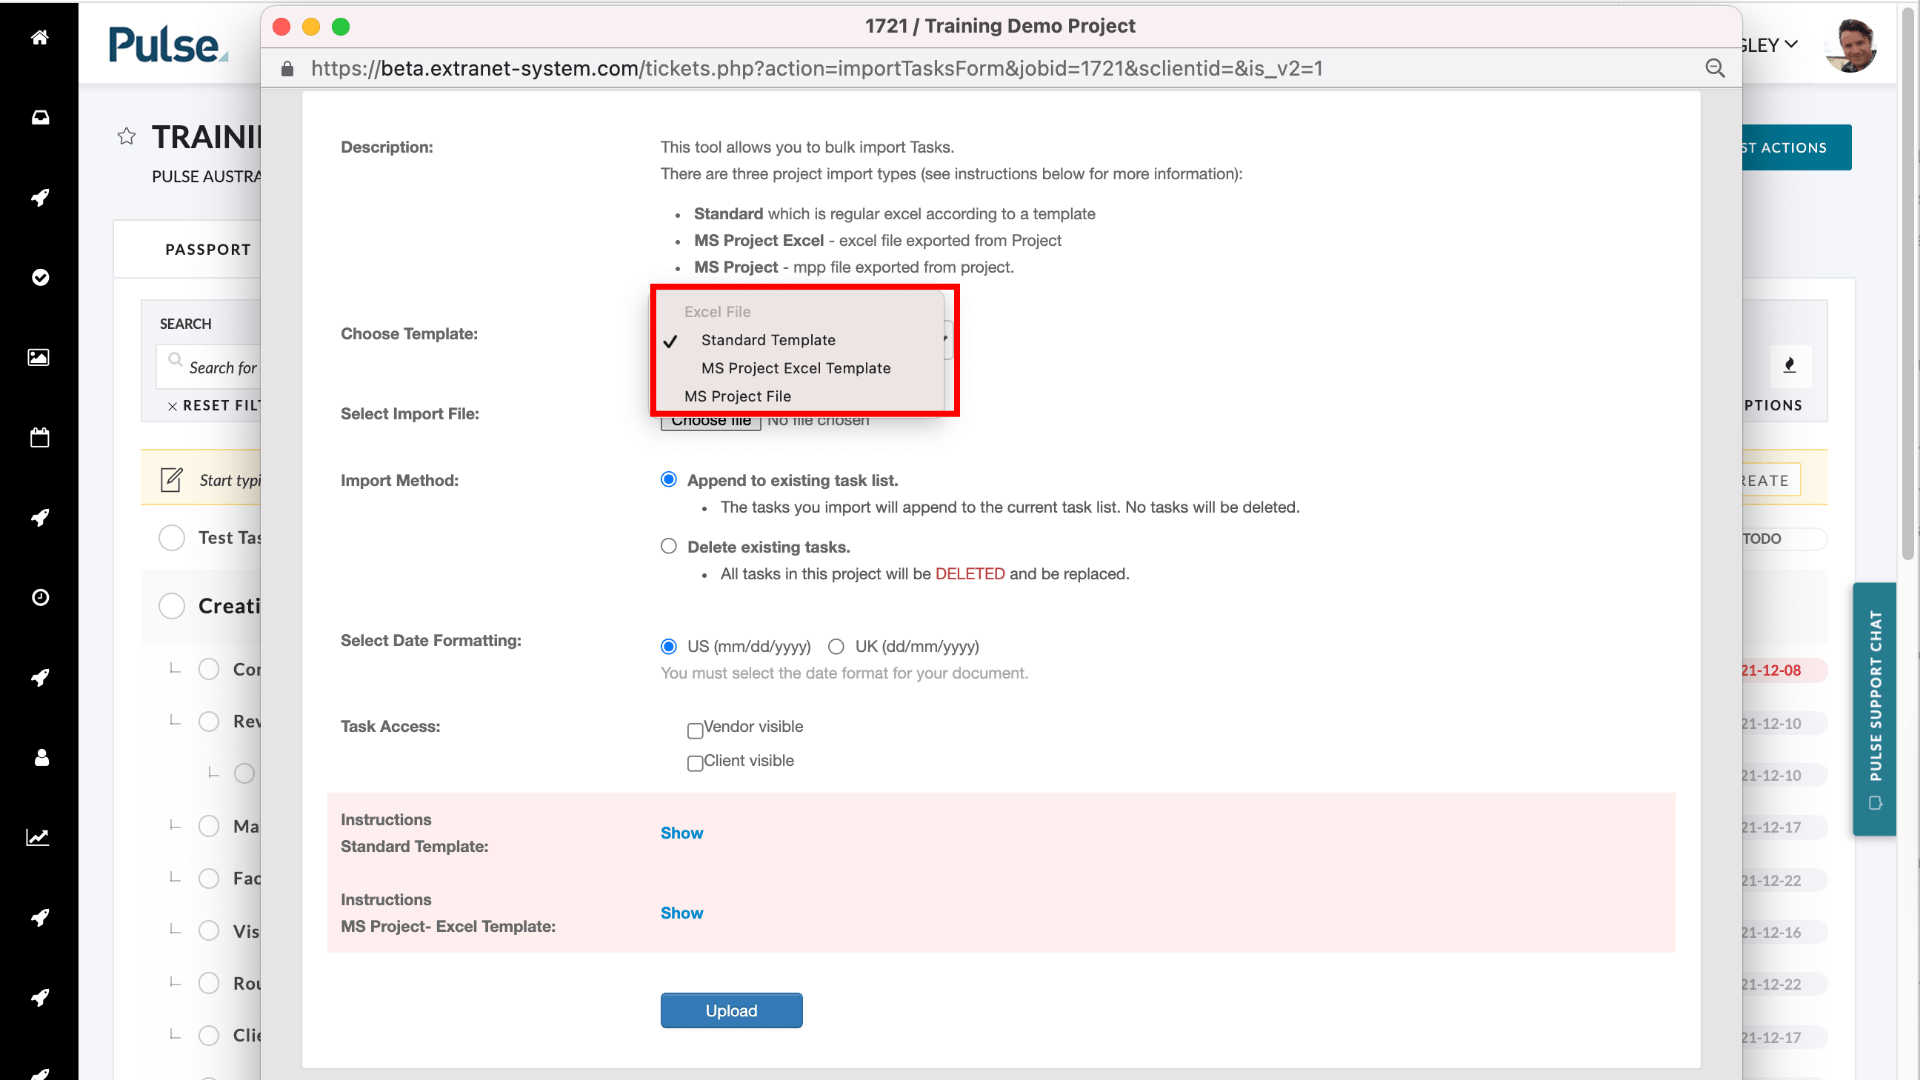
You can import existing task lists from various formats, including:
- Standard which uses Excel according to a specific Pulse Tasks Template
- MS Project Excel – using an Excel file exported from MS Project
- MS Project – mpp file exported from project.
How to Import a list of Tasks
Go to the Tasks tab, hover over the “Task List Actions” button and then click “Import Tasks”
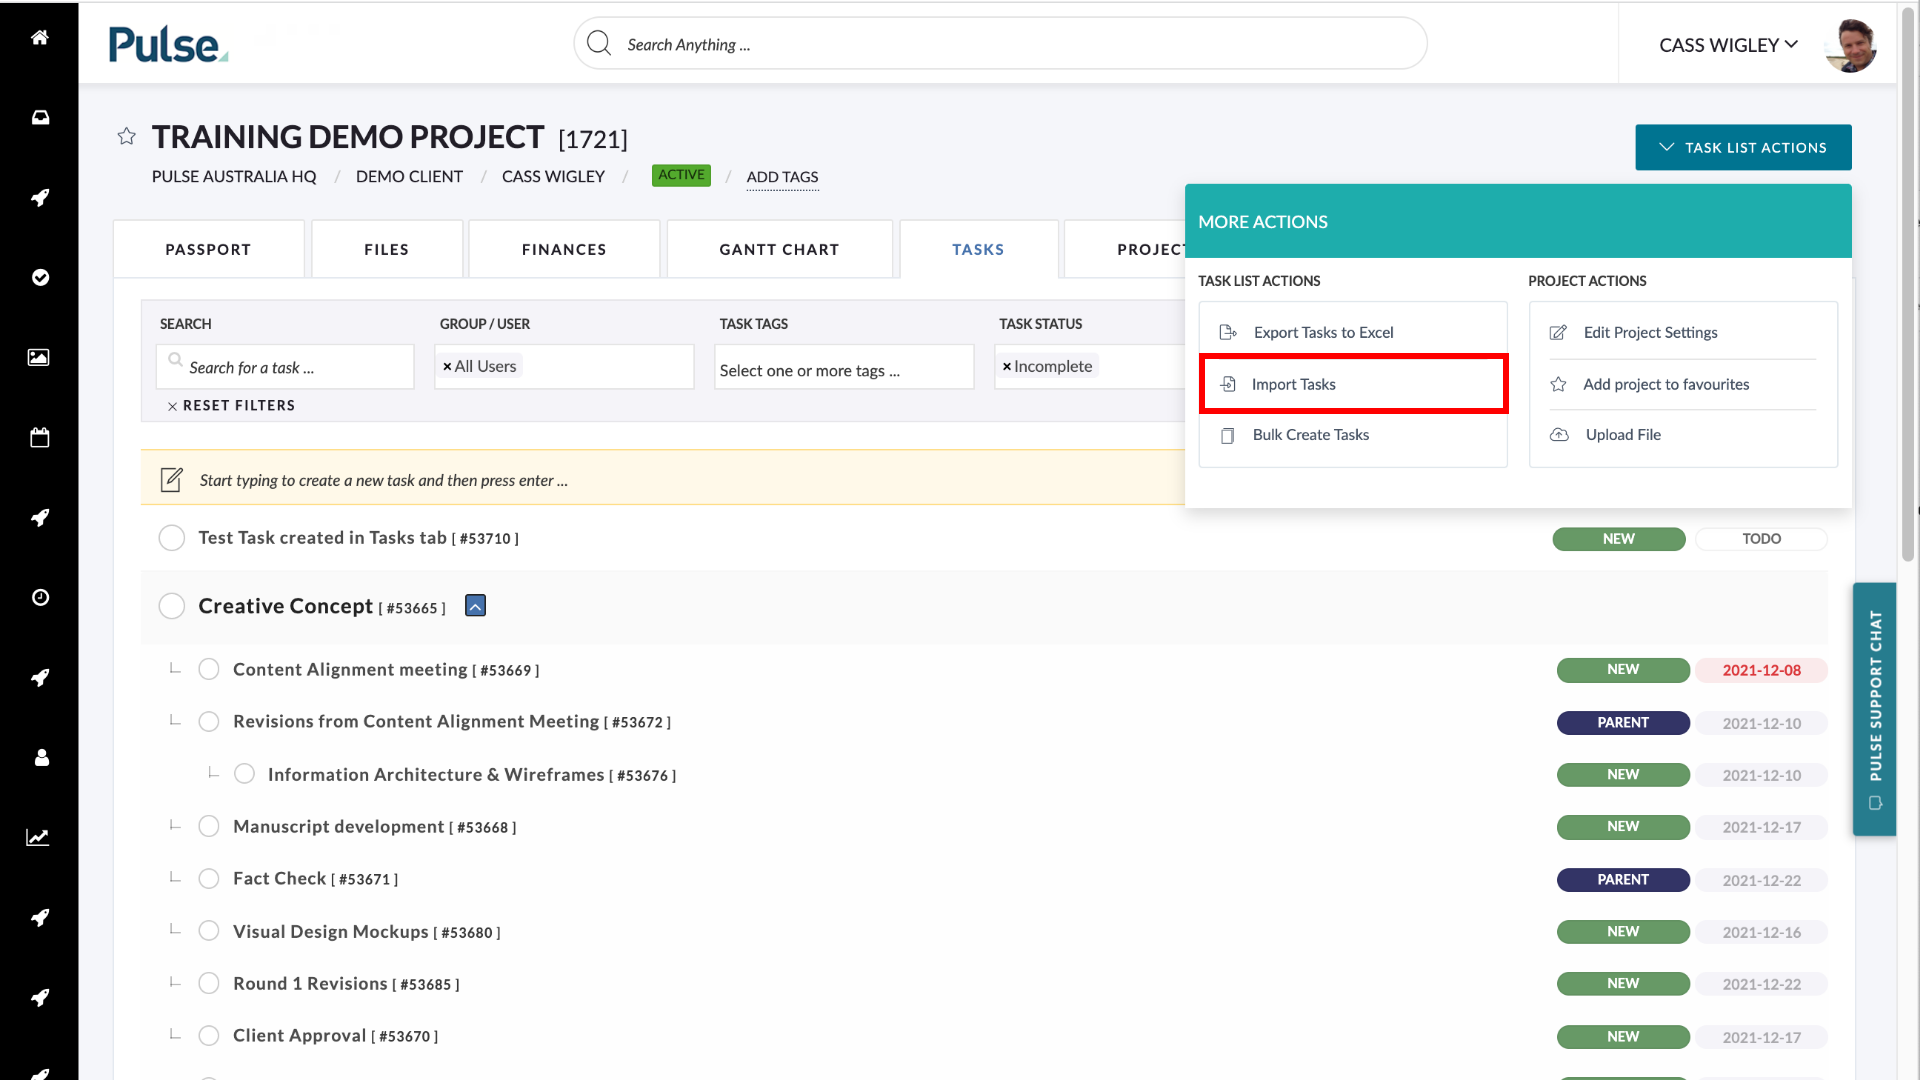
This will open the Import Tasks Wizard page in a pop-up window.
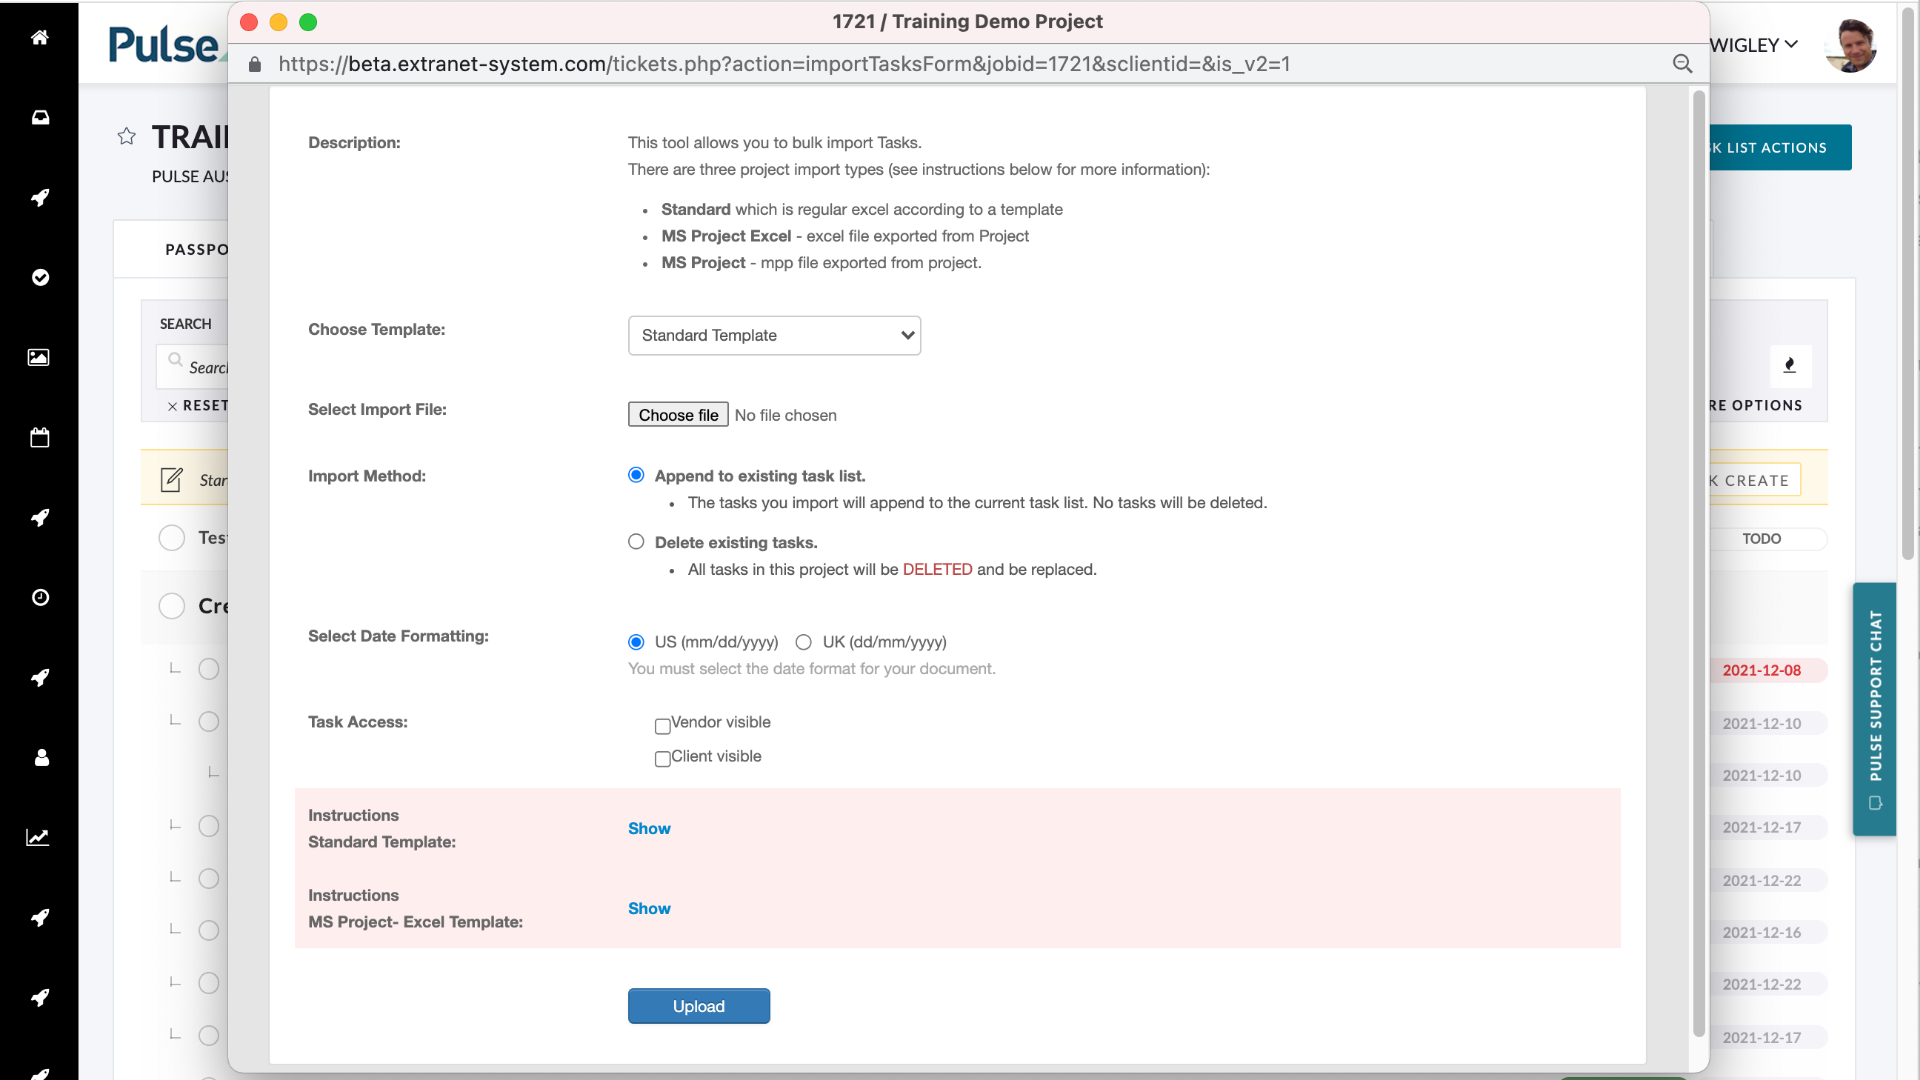
Choose a File Format to import from the “Choose Template Dropdown”
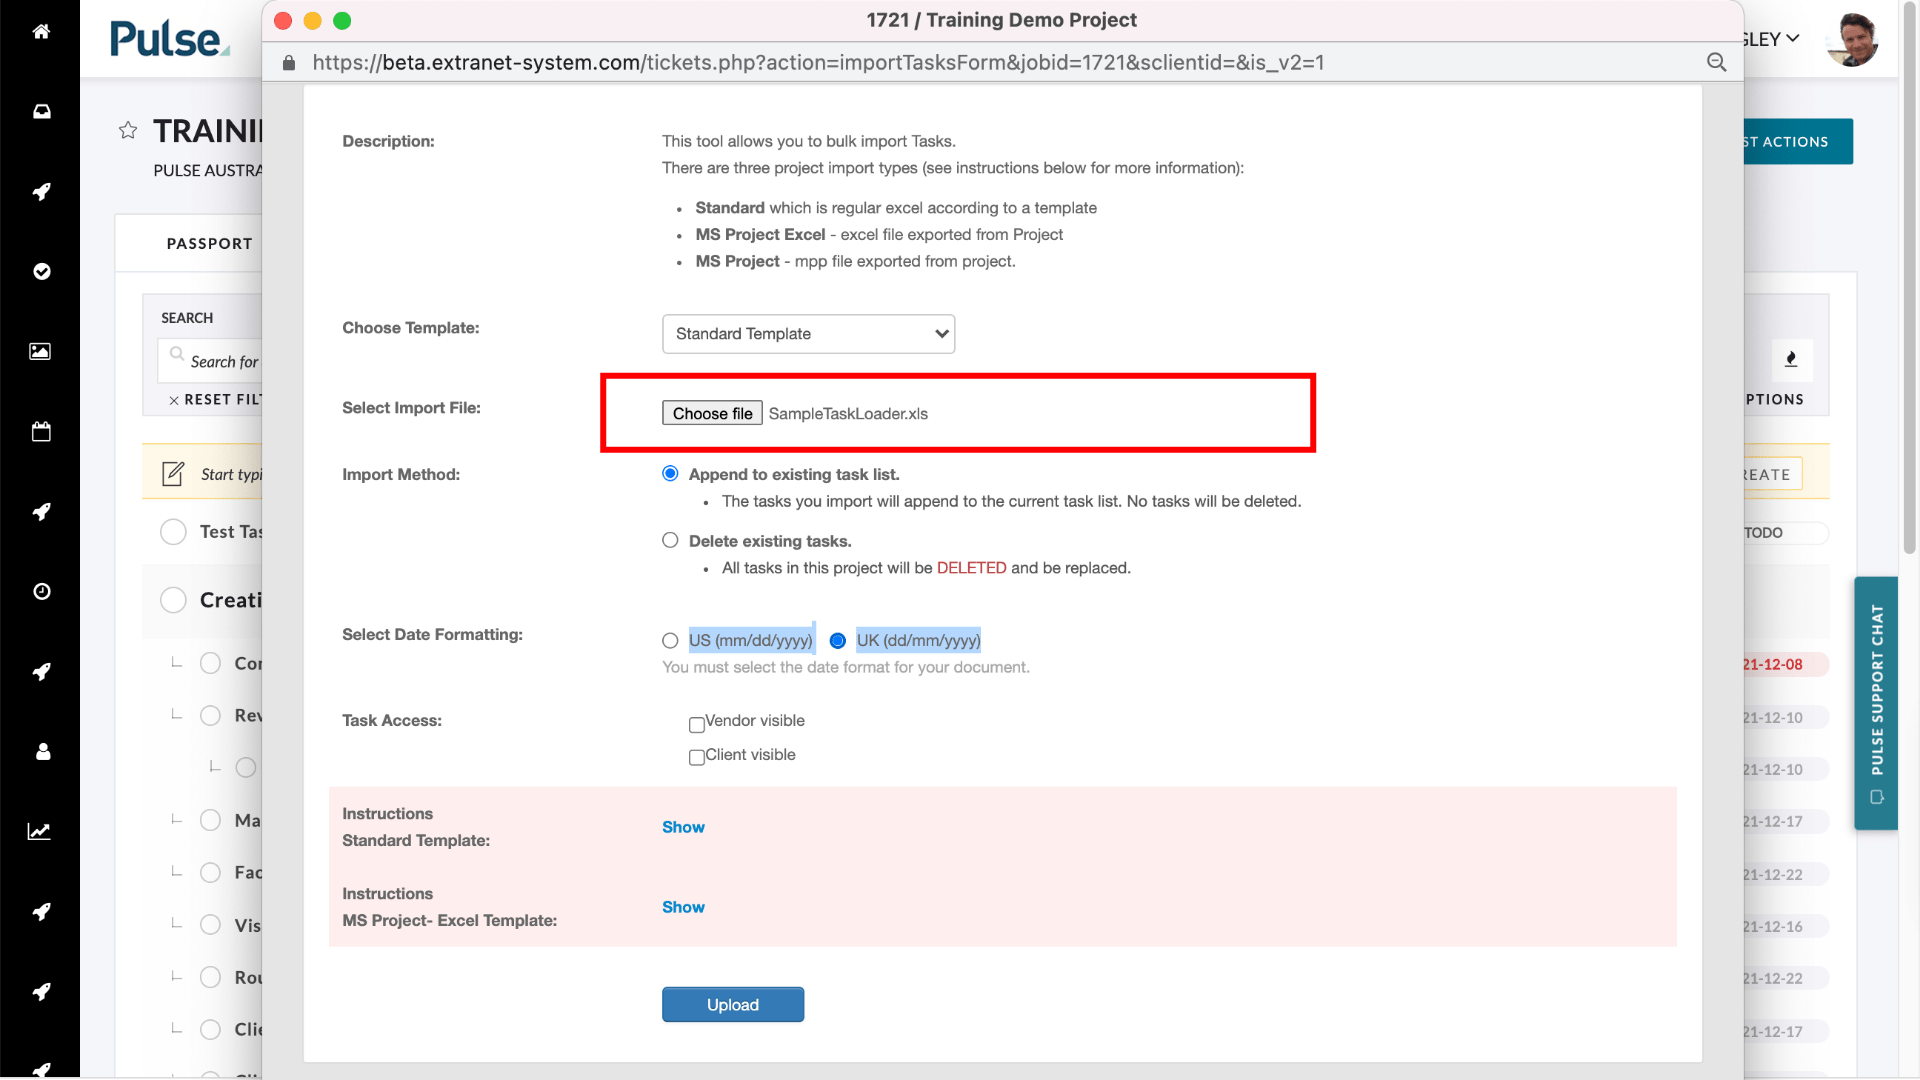
Select the File to Import
Use the Standard File Picker to find and select the file you want to upload.
You can read the instructions on how to prepare your files via the links at the bottom of the pop-up.
Select the Import method
Select the Import method to determine whether you want to Replace the Tasks or Add to existing Tasks:
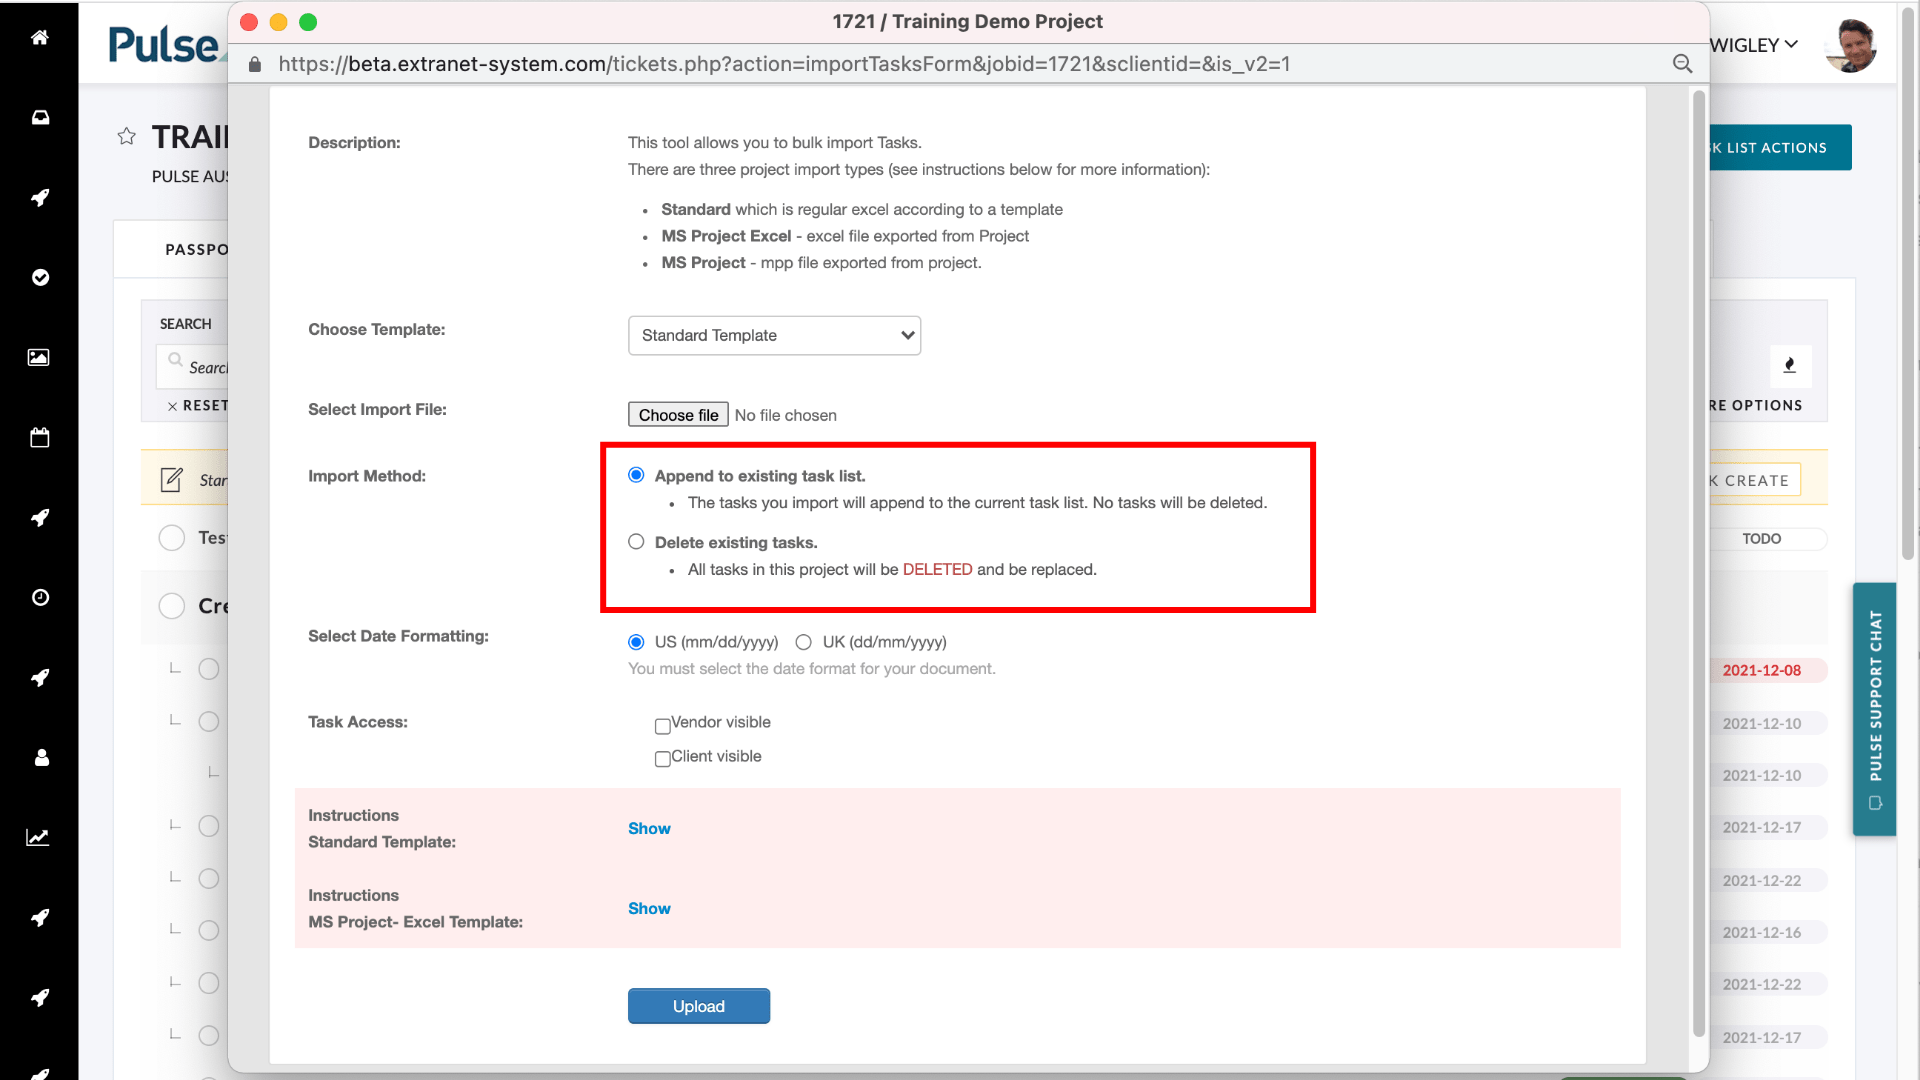
- Append to existing Task list.
The tasks you import will append to the current task list. No tasks will be deleted. - Delete existing Tasks.
All tasks in this project will be DELETED and be replaced.
Select the appropriate date format
You must select the date format that matches the date format used in your document. The Wizard will display an error if you select a date format that does not match the date format used in your source file.
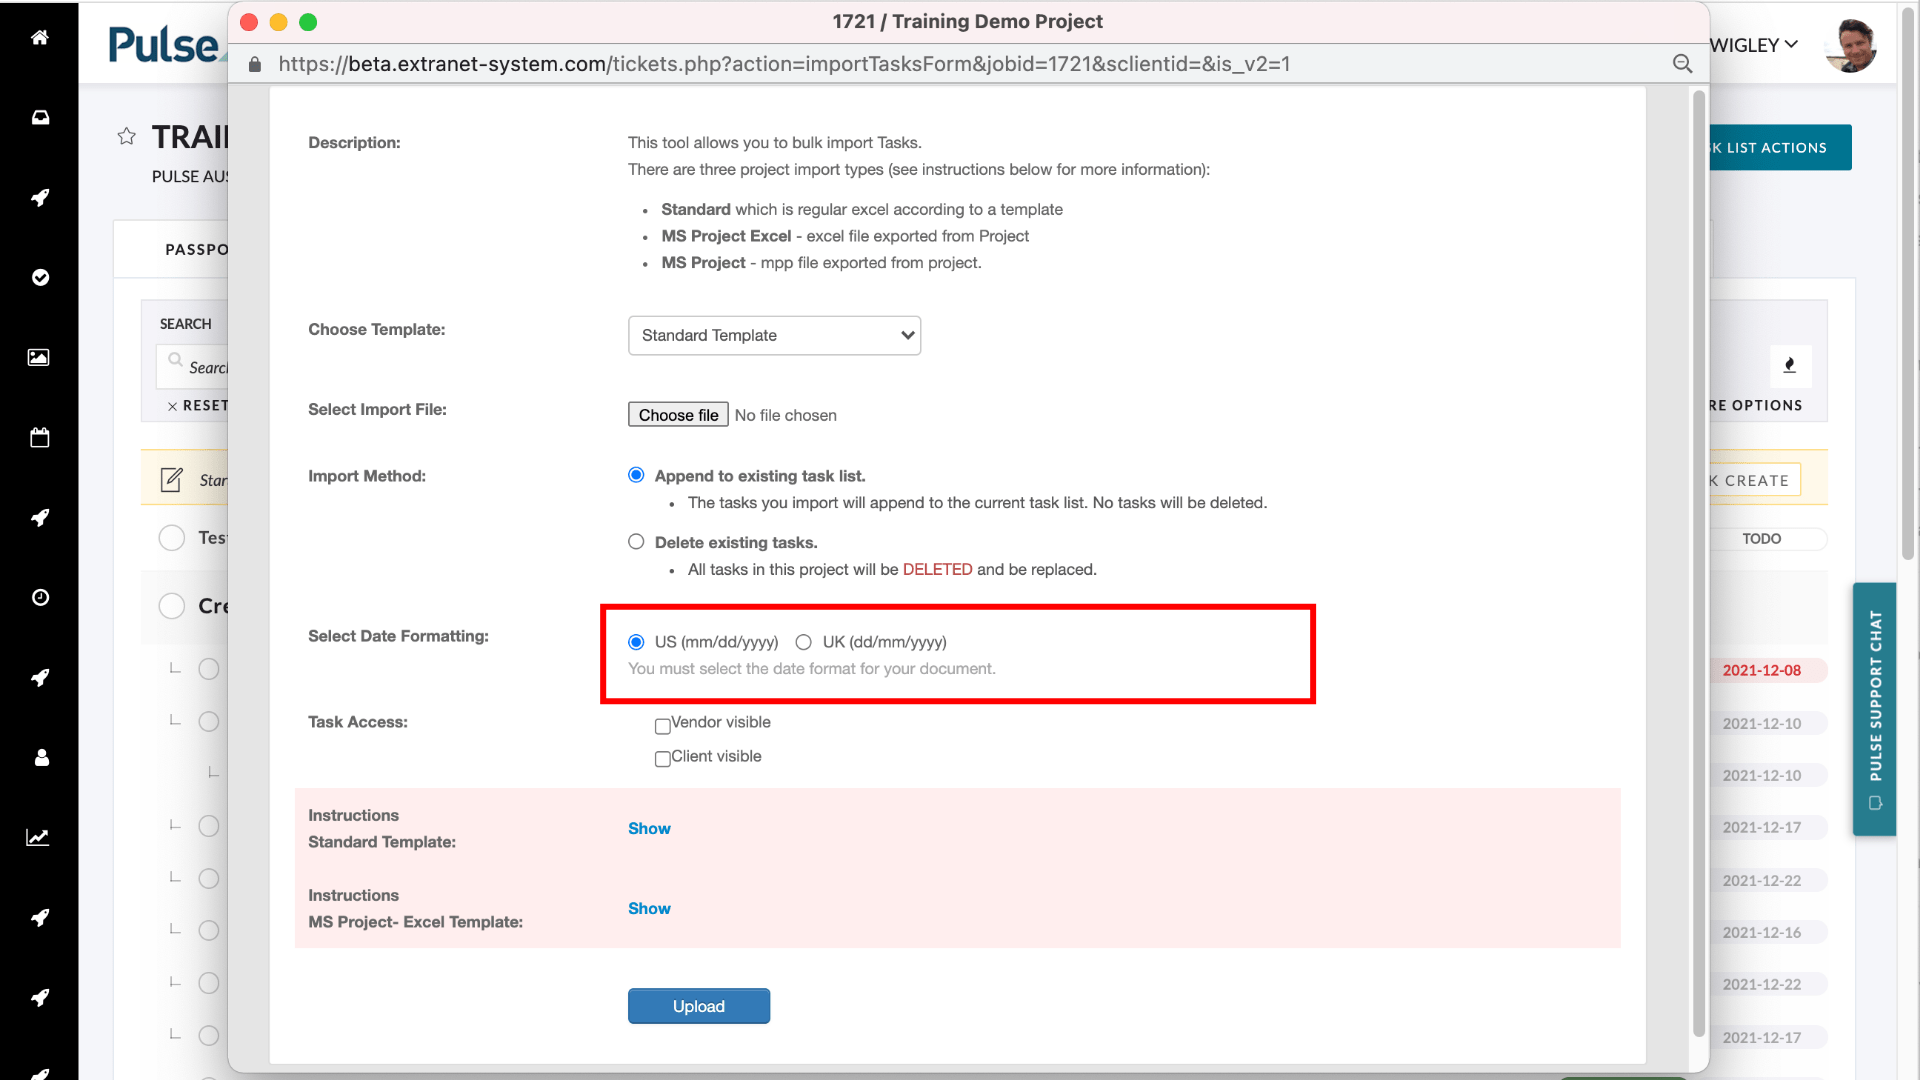
The options for date format are:
- US mm/dd/yyyy
- UK dd/mm/yyyy
Select Task Access Rules
Select whether the Tasks imported should be visible for Venders or Clients.
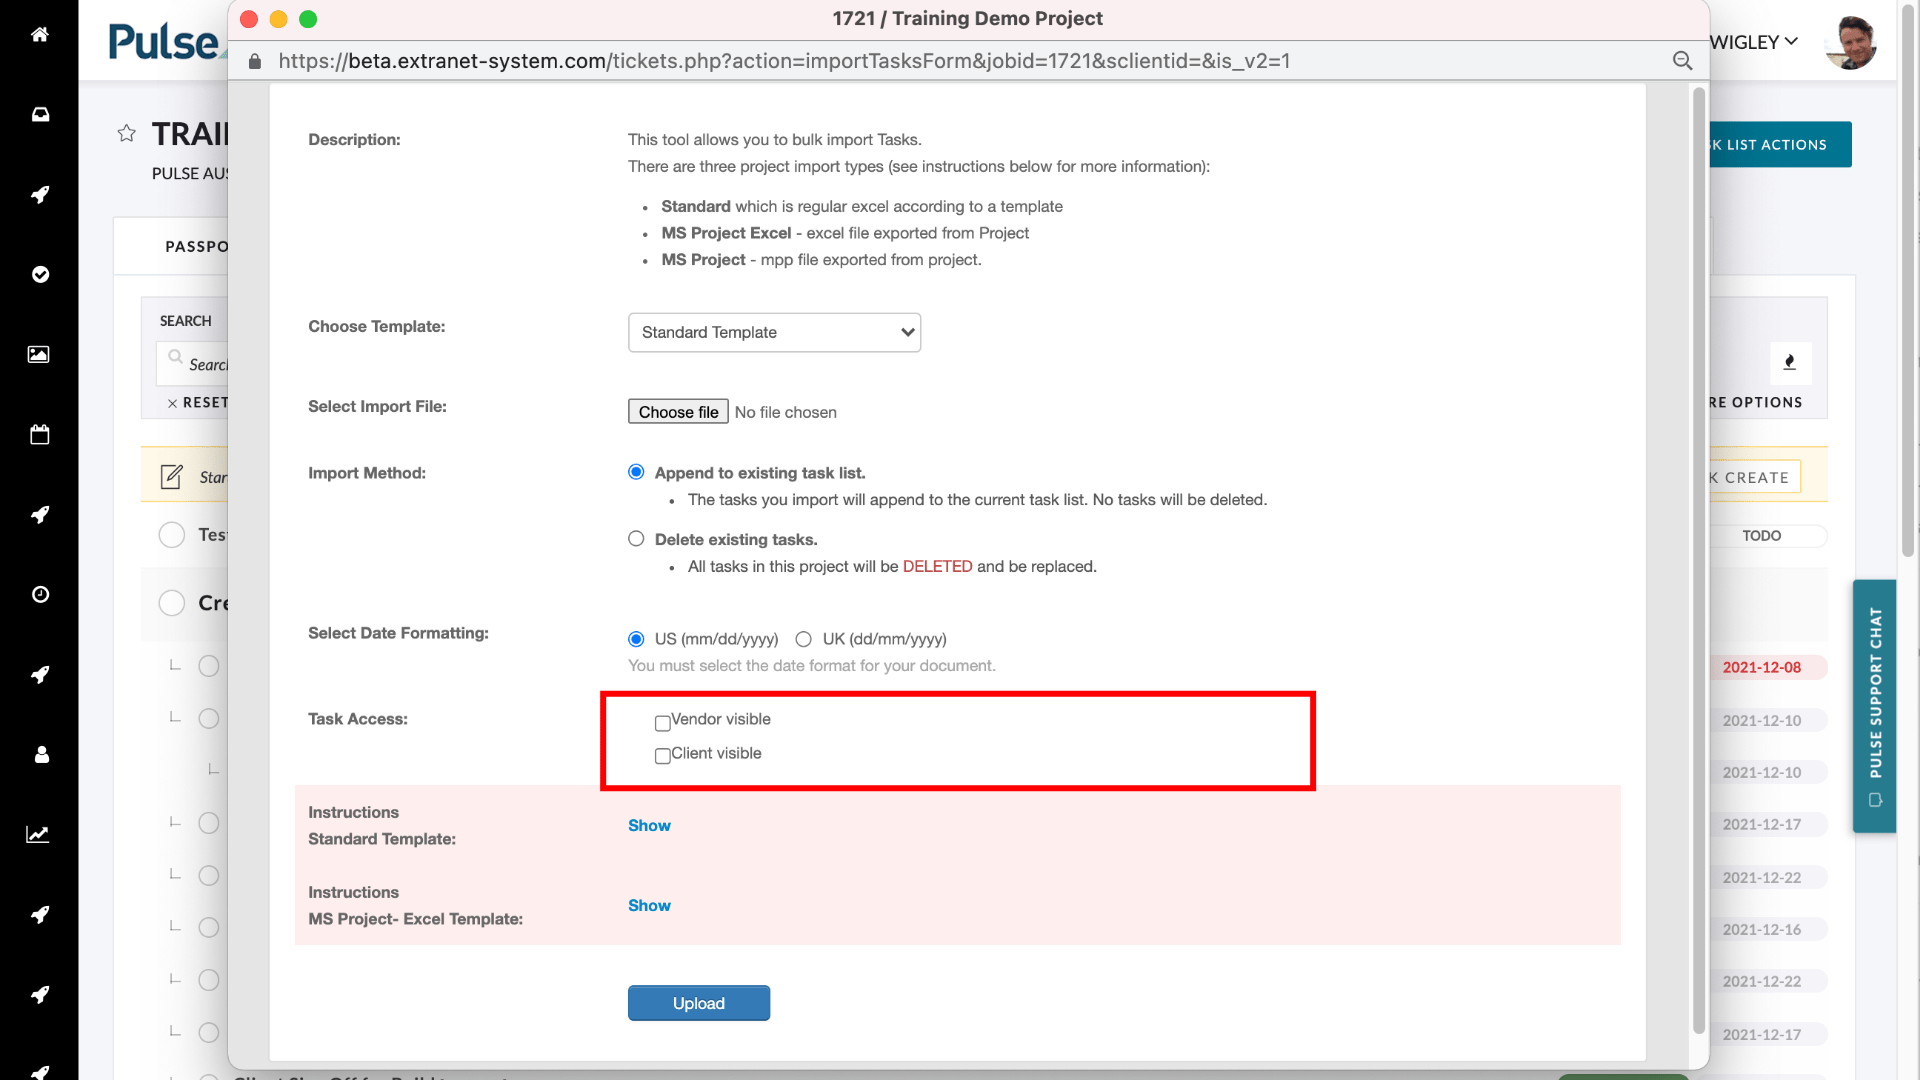
Please Note: Most Tasks by default are not visible to Vendors and Clients.
Click “Upload”
The import wizard will load the tasks according to what you have uploaded.
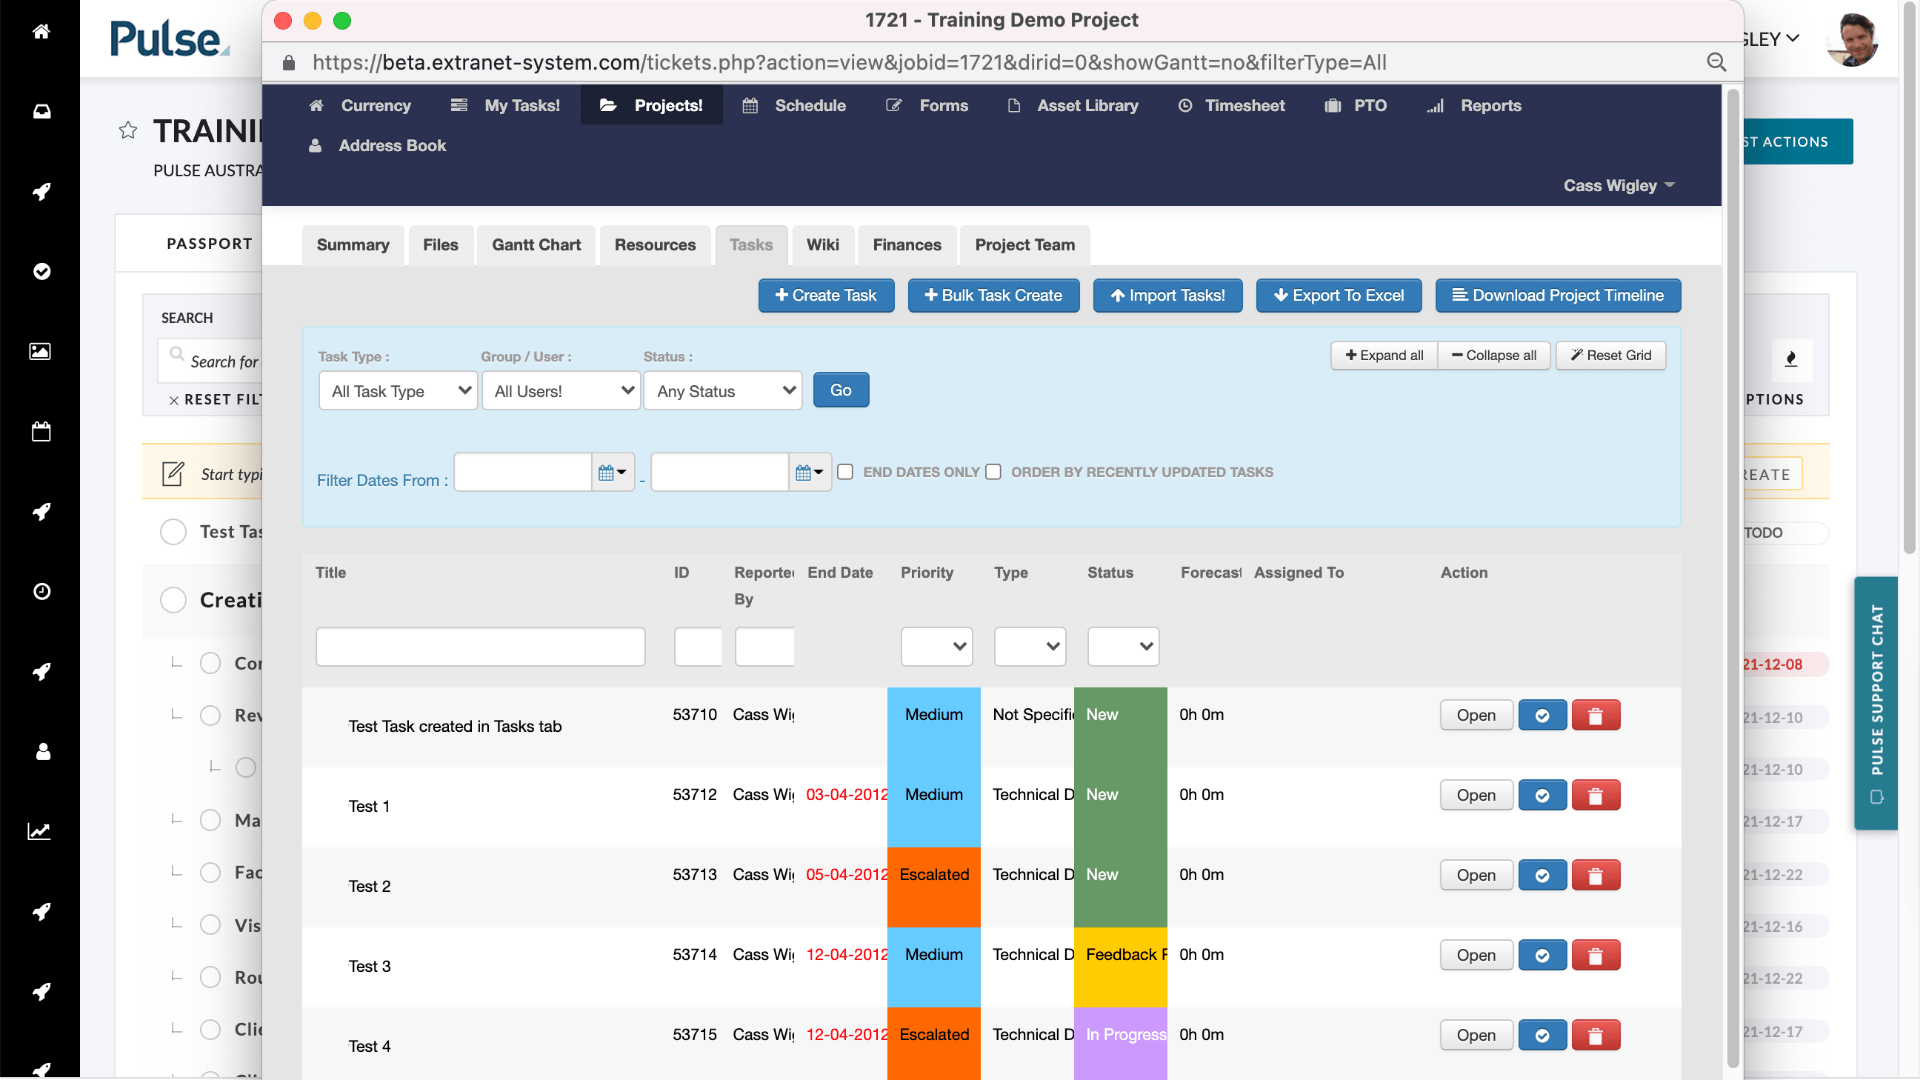
Close the pop-up and refresh the task list to see the imported tasks.

Standard Excel Import
To import tasks, you need to use our ‘Standard Import Template’.
- Download Template Here: Download Excel Template
- Do not change the first row ‘Headers’ (Except for Custom Fields. See below).
- Enter as many rows in the document you like
- Start and End Dates must be formatted in Excel as ‘*14/03/2001’ (note the asterix)
- Colours and formatting will be ignored
- Priority Names, Ticket Type and Status must match exactly, the names in your system.
- If a Priority/Type/Status is not recognised, they will be set to default values.
- Additional ‘Custom Fields’ can be included after the ‘End Date’
- In the first row, enter the ‘Field Name’ to match your ‘Custom Field’ names in your system.
- Click ‘Upload’
- Your tasks will be imported and created as standard tasks.
In the Task List of a project, go to Task List Actions > Import.
MS Project Import
To create a Microsoft Excel Export of your Microsoft Project File, follow these steps:
- Open your MS Project File.
- Select ‘Save As’ from the ‘File’ Menu.
- From the ‘Save as type’ menu, choose ‘Microsoft Excel Workbook.’
- Click ‘Save’ and you will be shown the ‘Export Wizard.’
- Click ‘Next.’
- Select ‘Project Excel Template.’
- Click ‘Finish.’
- You have now created the exported file to upload.
*This format will upload task dependencies into Pulse!