Gantt Charts are a specialised view of Tasks
In Pulse, the Gantt Chart is a specialised view of the Task List.
So by default, any Tasks created in the Task List will show in the Gantt Chart.
Creating Tasks in the Gantt Chart
However, the Gantt Chart also offers multiple options for creating Tasks which can save you time when creating a Project Schedule, as they are contextual to timeline of the Project.
1) “Create Task” button in Gantt Chart
The simplest way to create a task in the Gantt Chart is to click on the green “+ Create Task” button on the top left side of the screen.
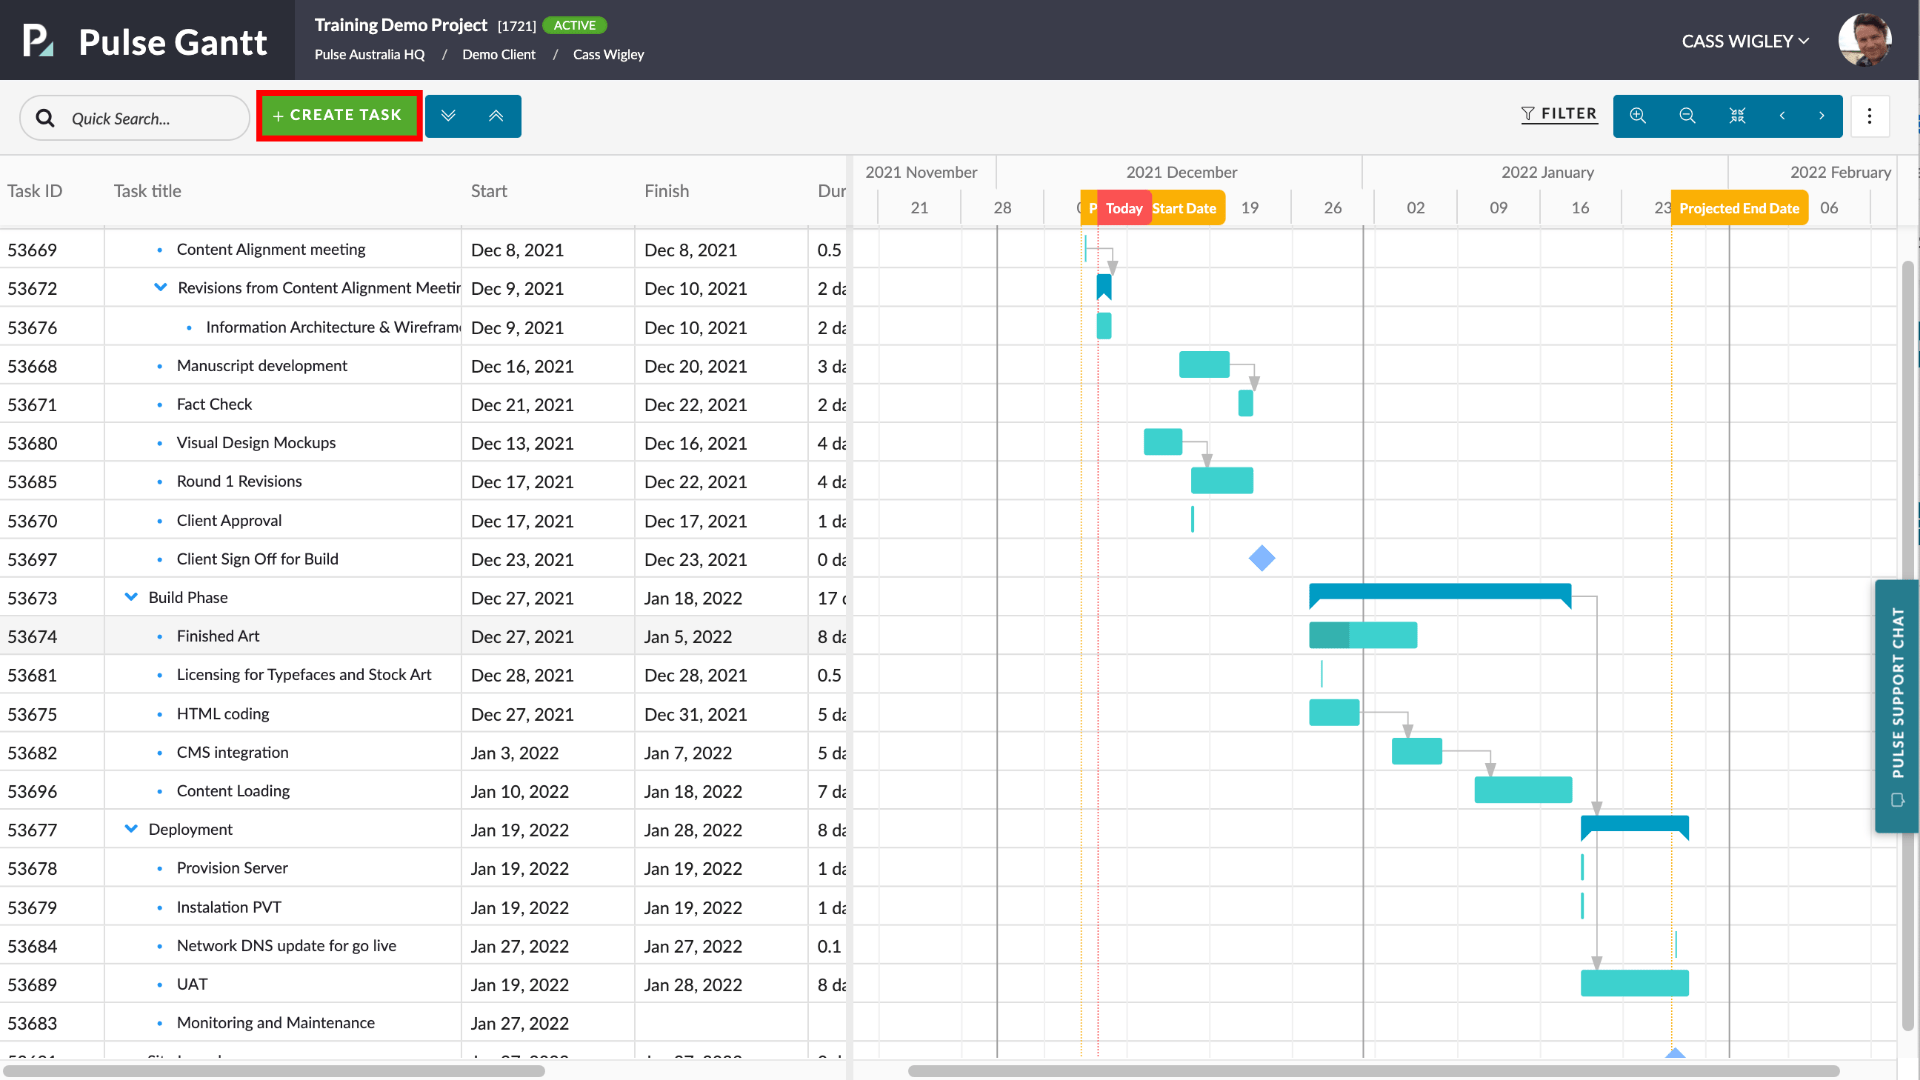
This will create a new Task as a row at the bottom of the chart with the default title “New Task“.
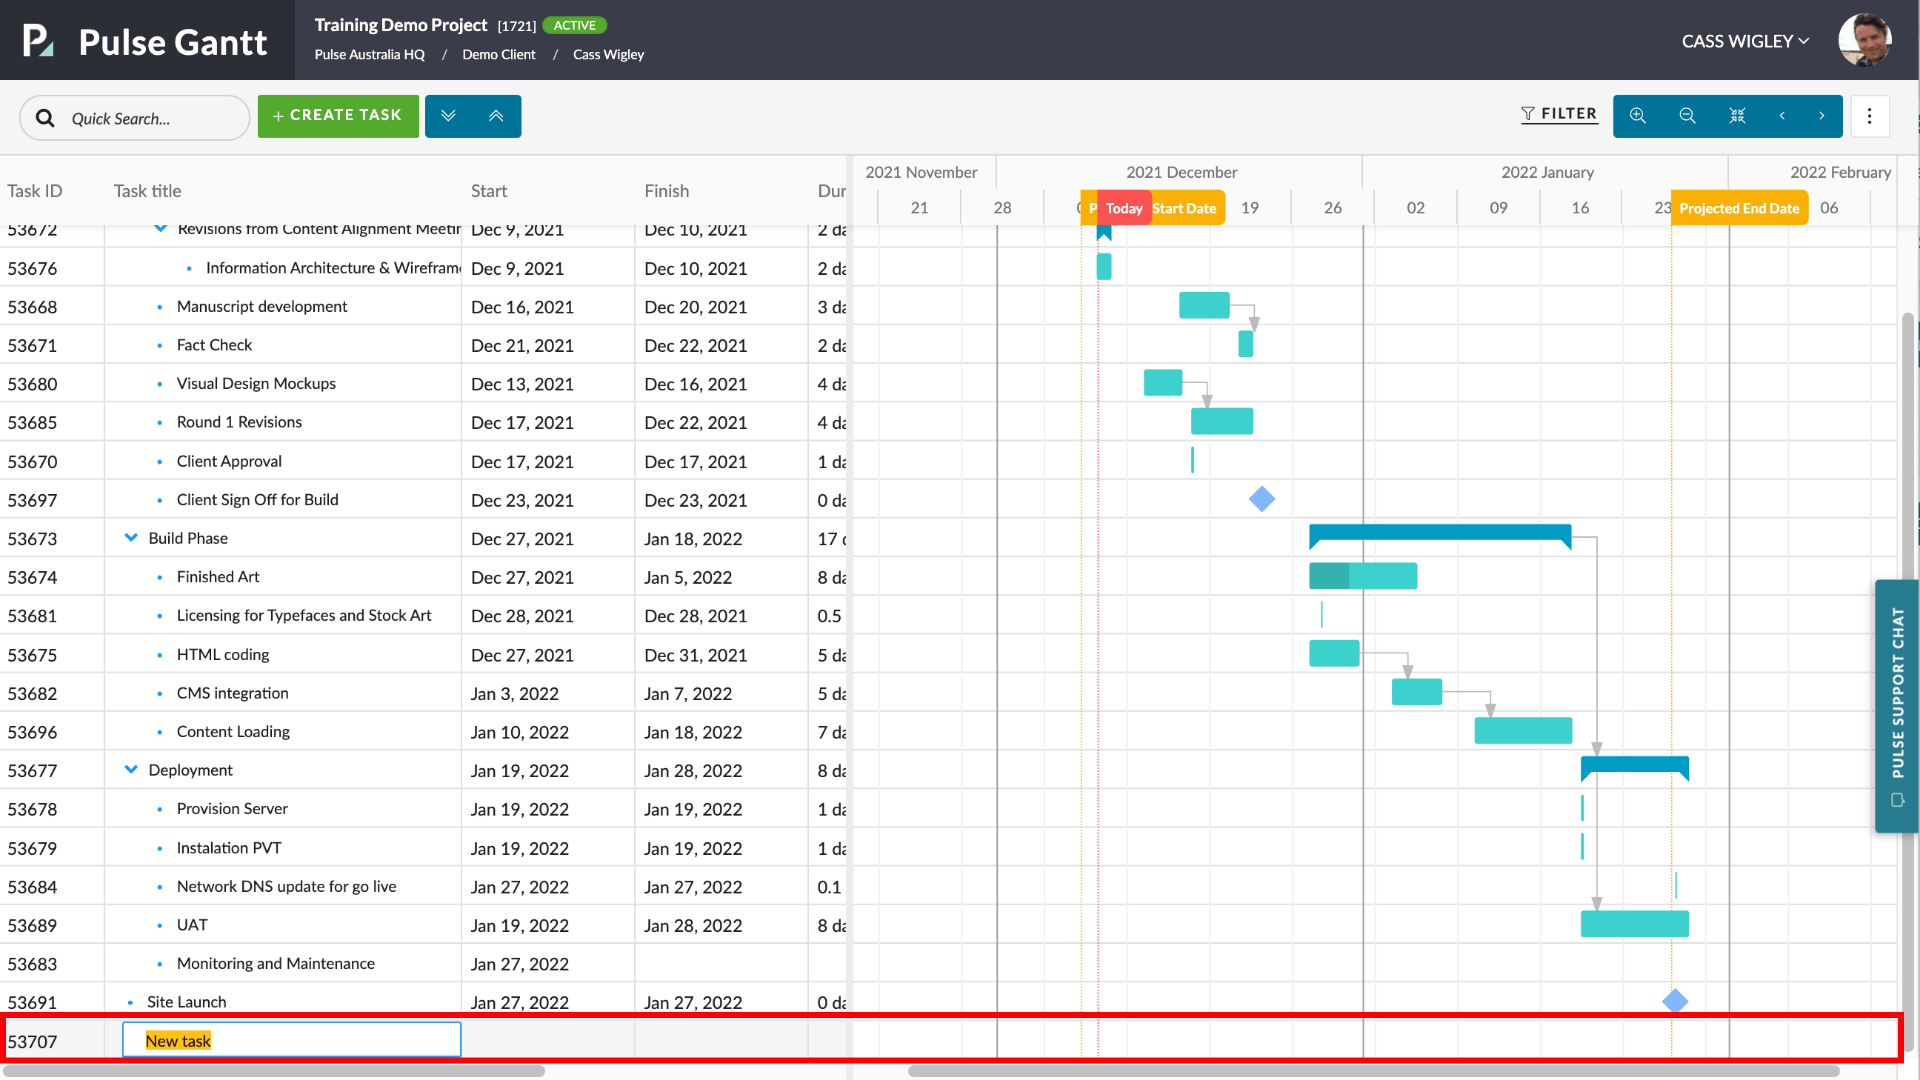
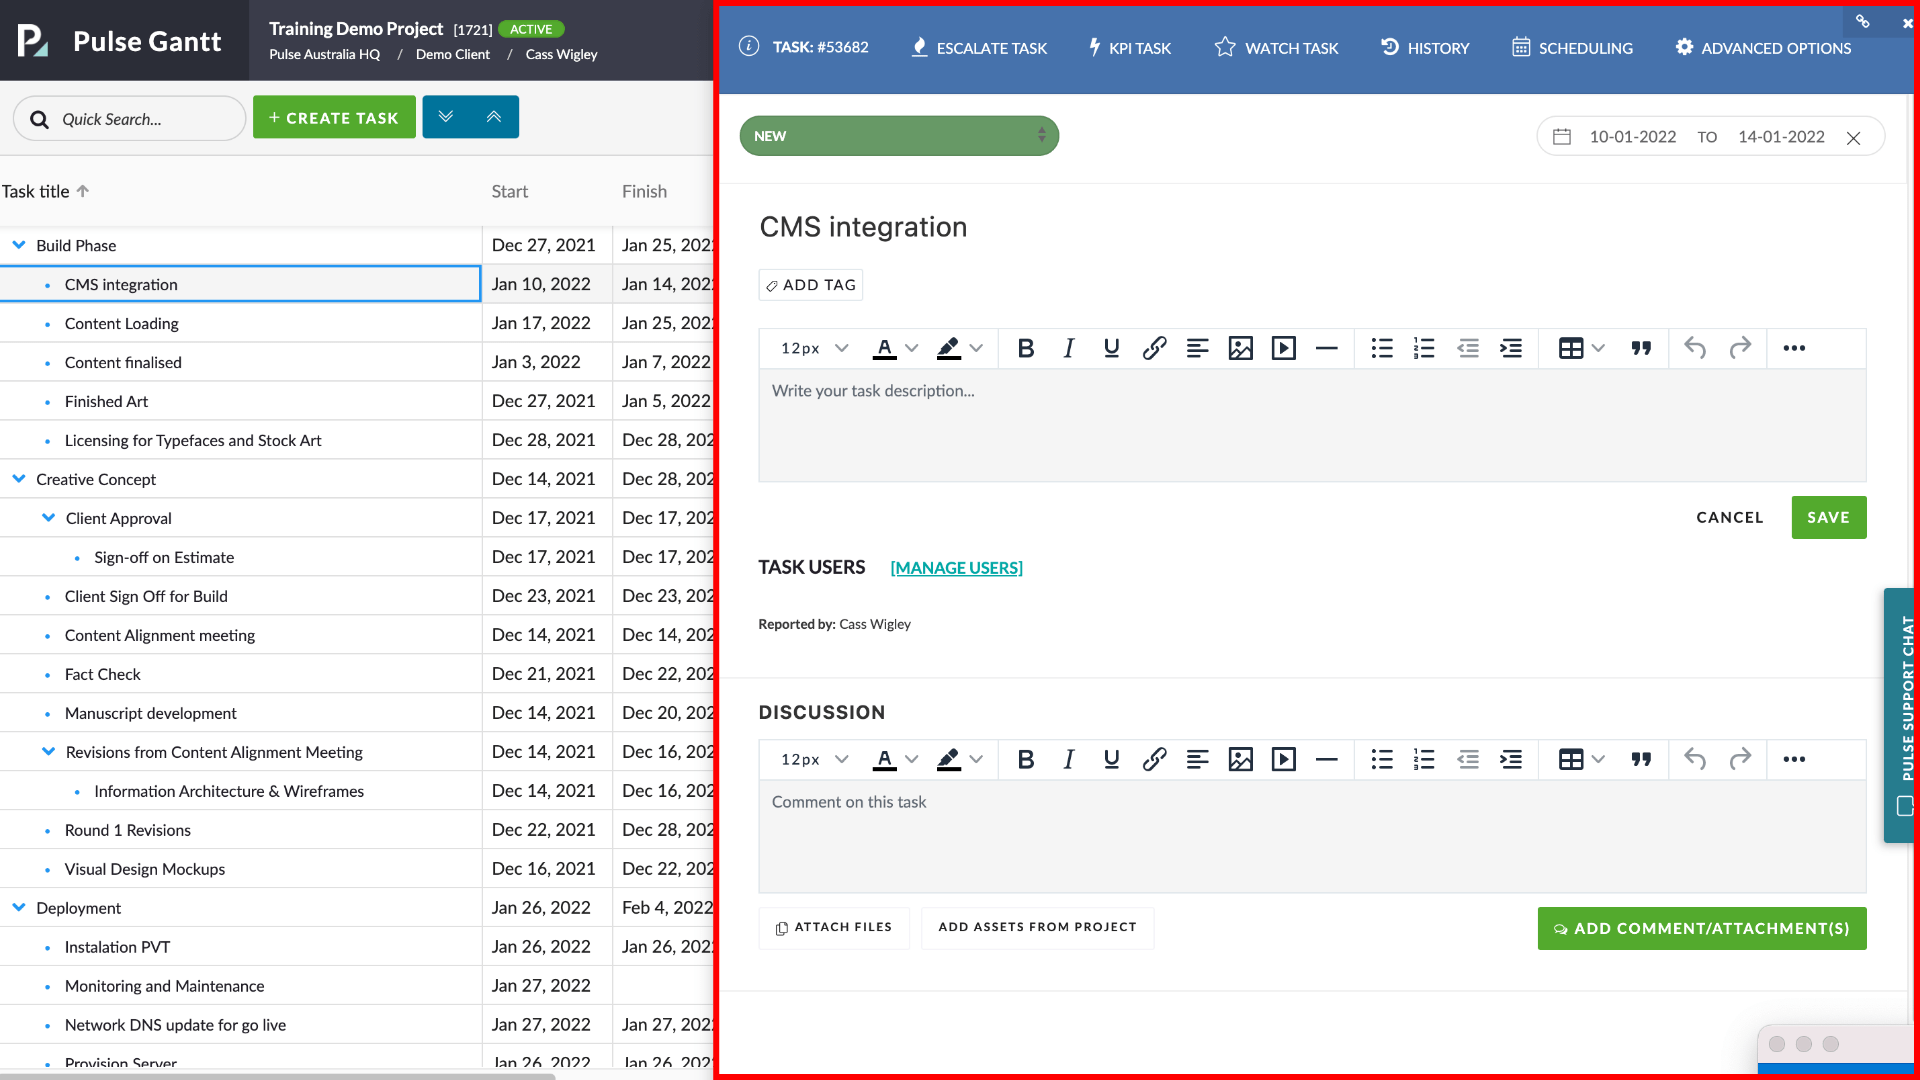
Once the Task appears, you can focus your cursor to set the Task. You will also notice that by default the Task is created without a Start Date and End Date. To set the Start Date and End Date simply ‘Click and Drag’ in the Schedule Timeline area to set the timings for the Task.
If you need to move the Task to become a ‘Child‘ or ‘Parent‘ of another Task, you can ‘Click and Drag‘ the Task upwards to change the ‘Order‘ of the Task in the Schedule.
2) Create Task with ‘Right Click’ Context Menu
Another way to create a Task in the Gantt Chart is using the ‘Right-Click‘ Context Menu.
If you “Control-Click” or “Right-Click” on a row in the Task Panel (on left) of the Gantt Chart you will see the Context Menu.

Expand the “+ Add Task” submenu to see the options you have when creating a Task.
- Task above creates a Task directly above the task you right-clicked on
- Task below creates a Task directly below the task you right-clicked on
- Milestone creates a Milestone task directly below the task you right-clicked on
- Subtask converts the Task you right-clicked on into a “Parent Task” and creates a “Child-task” beneath it
- Successor creates a linked “Successor” task at the bottom of the current group of tasks
- Predecessor creates a linked “Predecessor” task above the Task you right-clicked on
3) Create Tasks with ‘Bulk Copy and Paste’
If you need to create lots of Tasks in your Project Schedule, you may find the ‘Copy and Paste‘ feature is the most efficient tool.
To ‘Copy & Paste’ Tasks, follow these steps:
- ‘Shift Click‘ or ‘Control Click‘ on multiple separate Tasks to highlight and select the Tasks you wish to duplicate.
- ‘Right Click‘ on the selected Tasks, to launch the ‘Context Menu‘
- Choose the ‘Copy‘ option
- Move the cursor to a location in the Task List Panel in the Gantt Chart. Choose a location where you would like to ‘Paste‘ the selected Tasks.
- ‘Right Click‘ to launch the Context Menu
- Select ‘Paste‘
- The selected Tasks should appear in the Task List Panel and the Schedule.
- You can now ‘Double Click‘ on the Task titles to Edit, and you can ‘Drag and Drop’ on the Schedule Panel to set the Task timings.
Note: Any Tasks added or updated in the Gantt Chart will also be added/updated in the Task List.