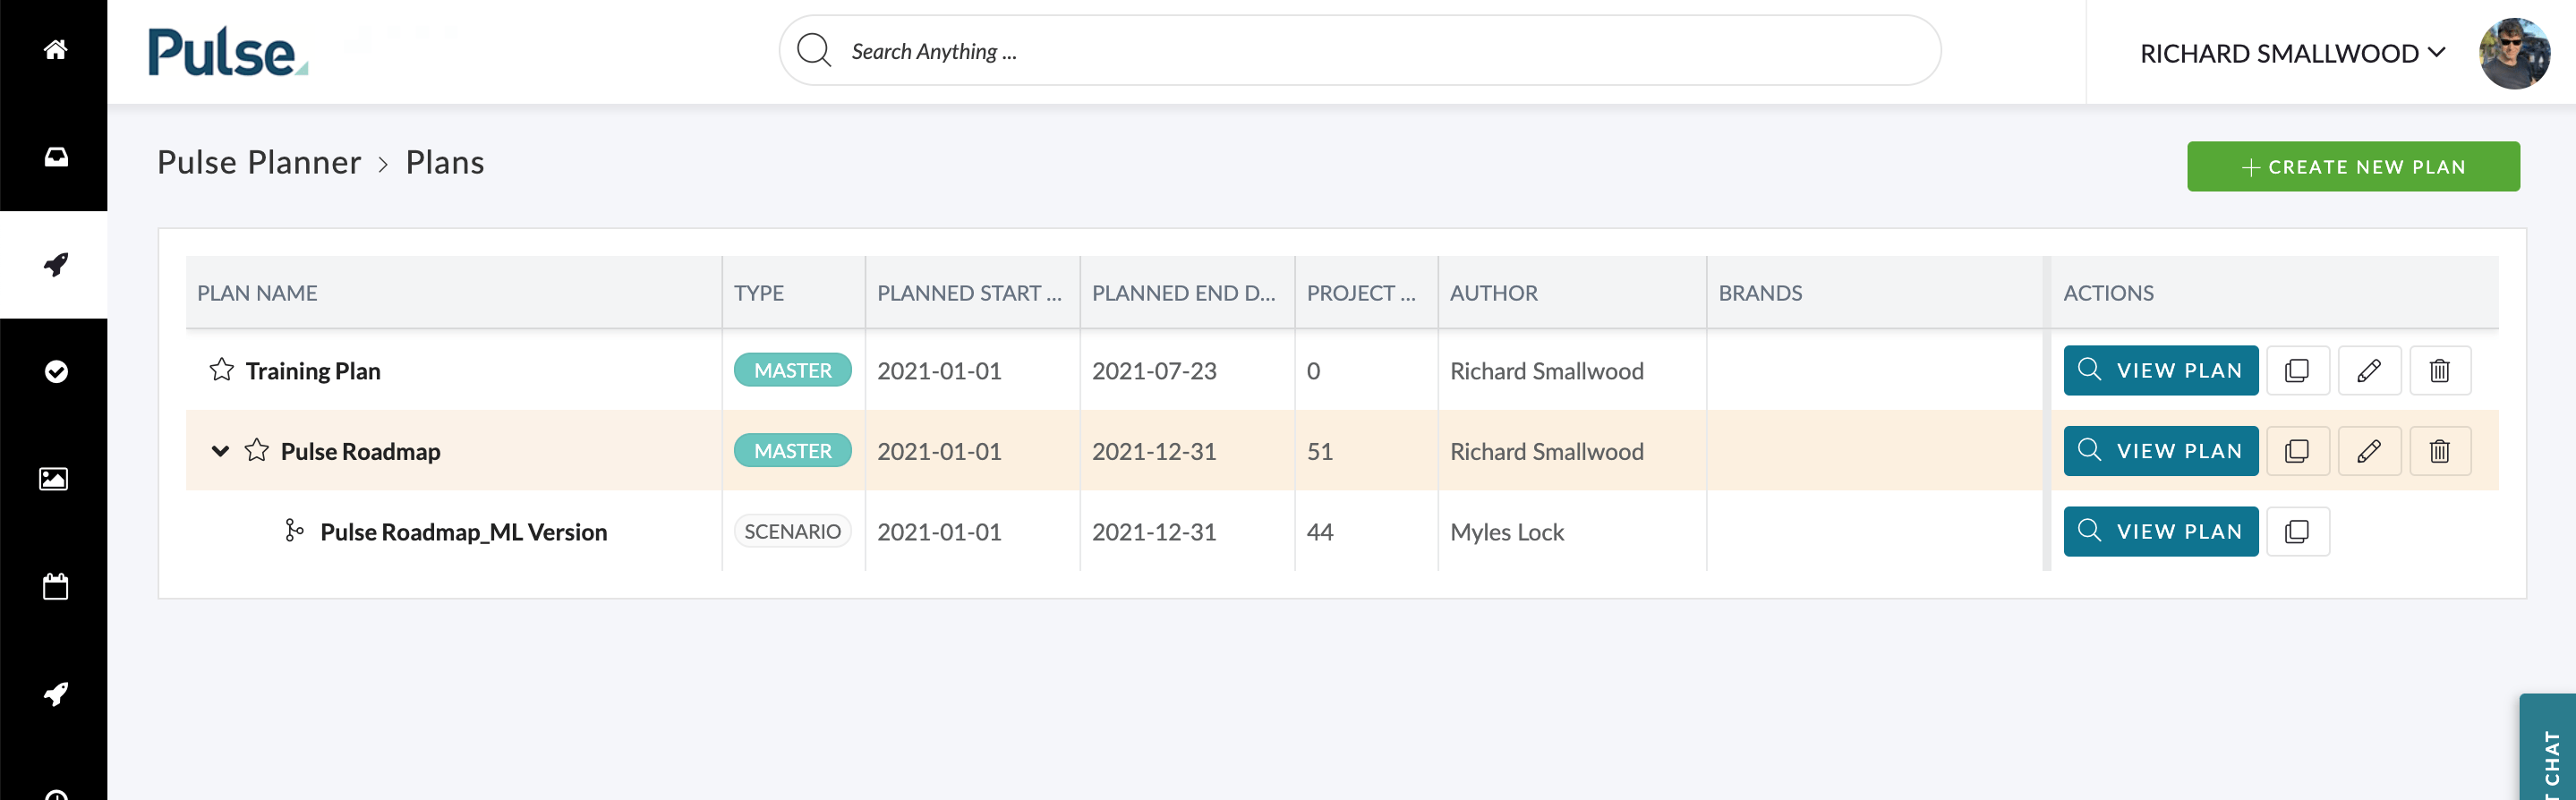
Reminder: You will need to have the ‘Manage Plans‘ User Permission to access the Pulse Planner and the ‘Create Plan‘ button.
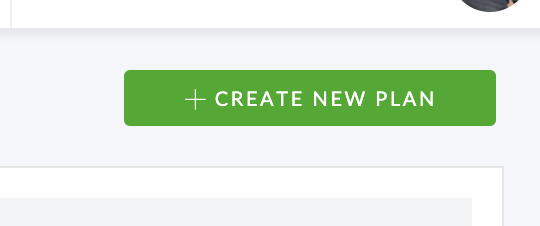
Click ‘Create Plan’ Button
Once you have accessed the ‘Pulse Planner‘ tool, you will be able to click the ‘Create Plan‘ button to create a new Plan.
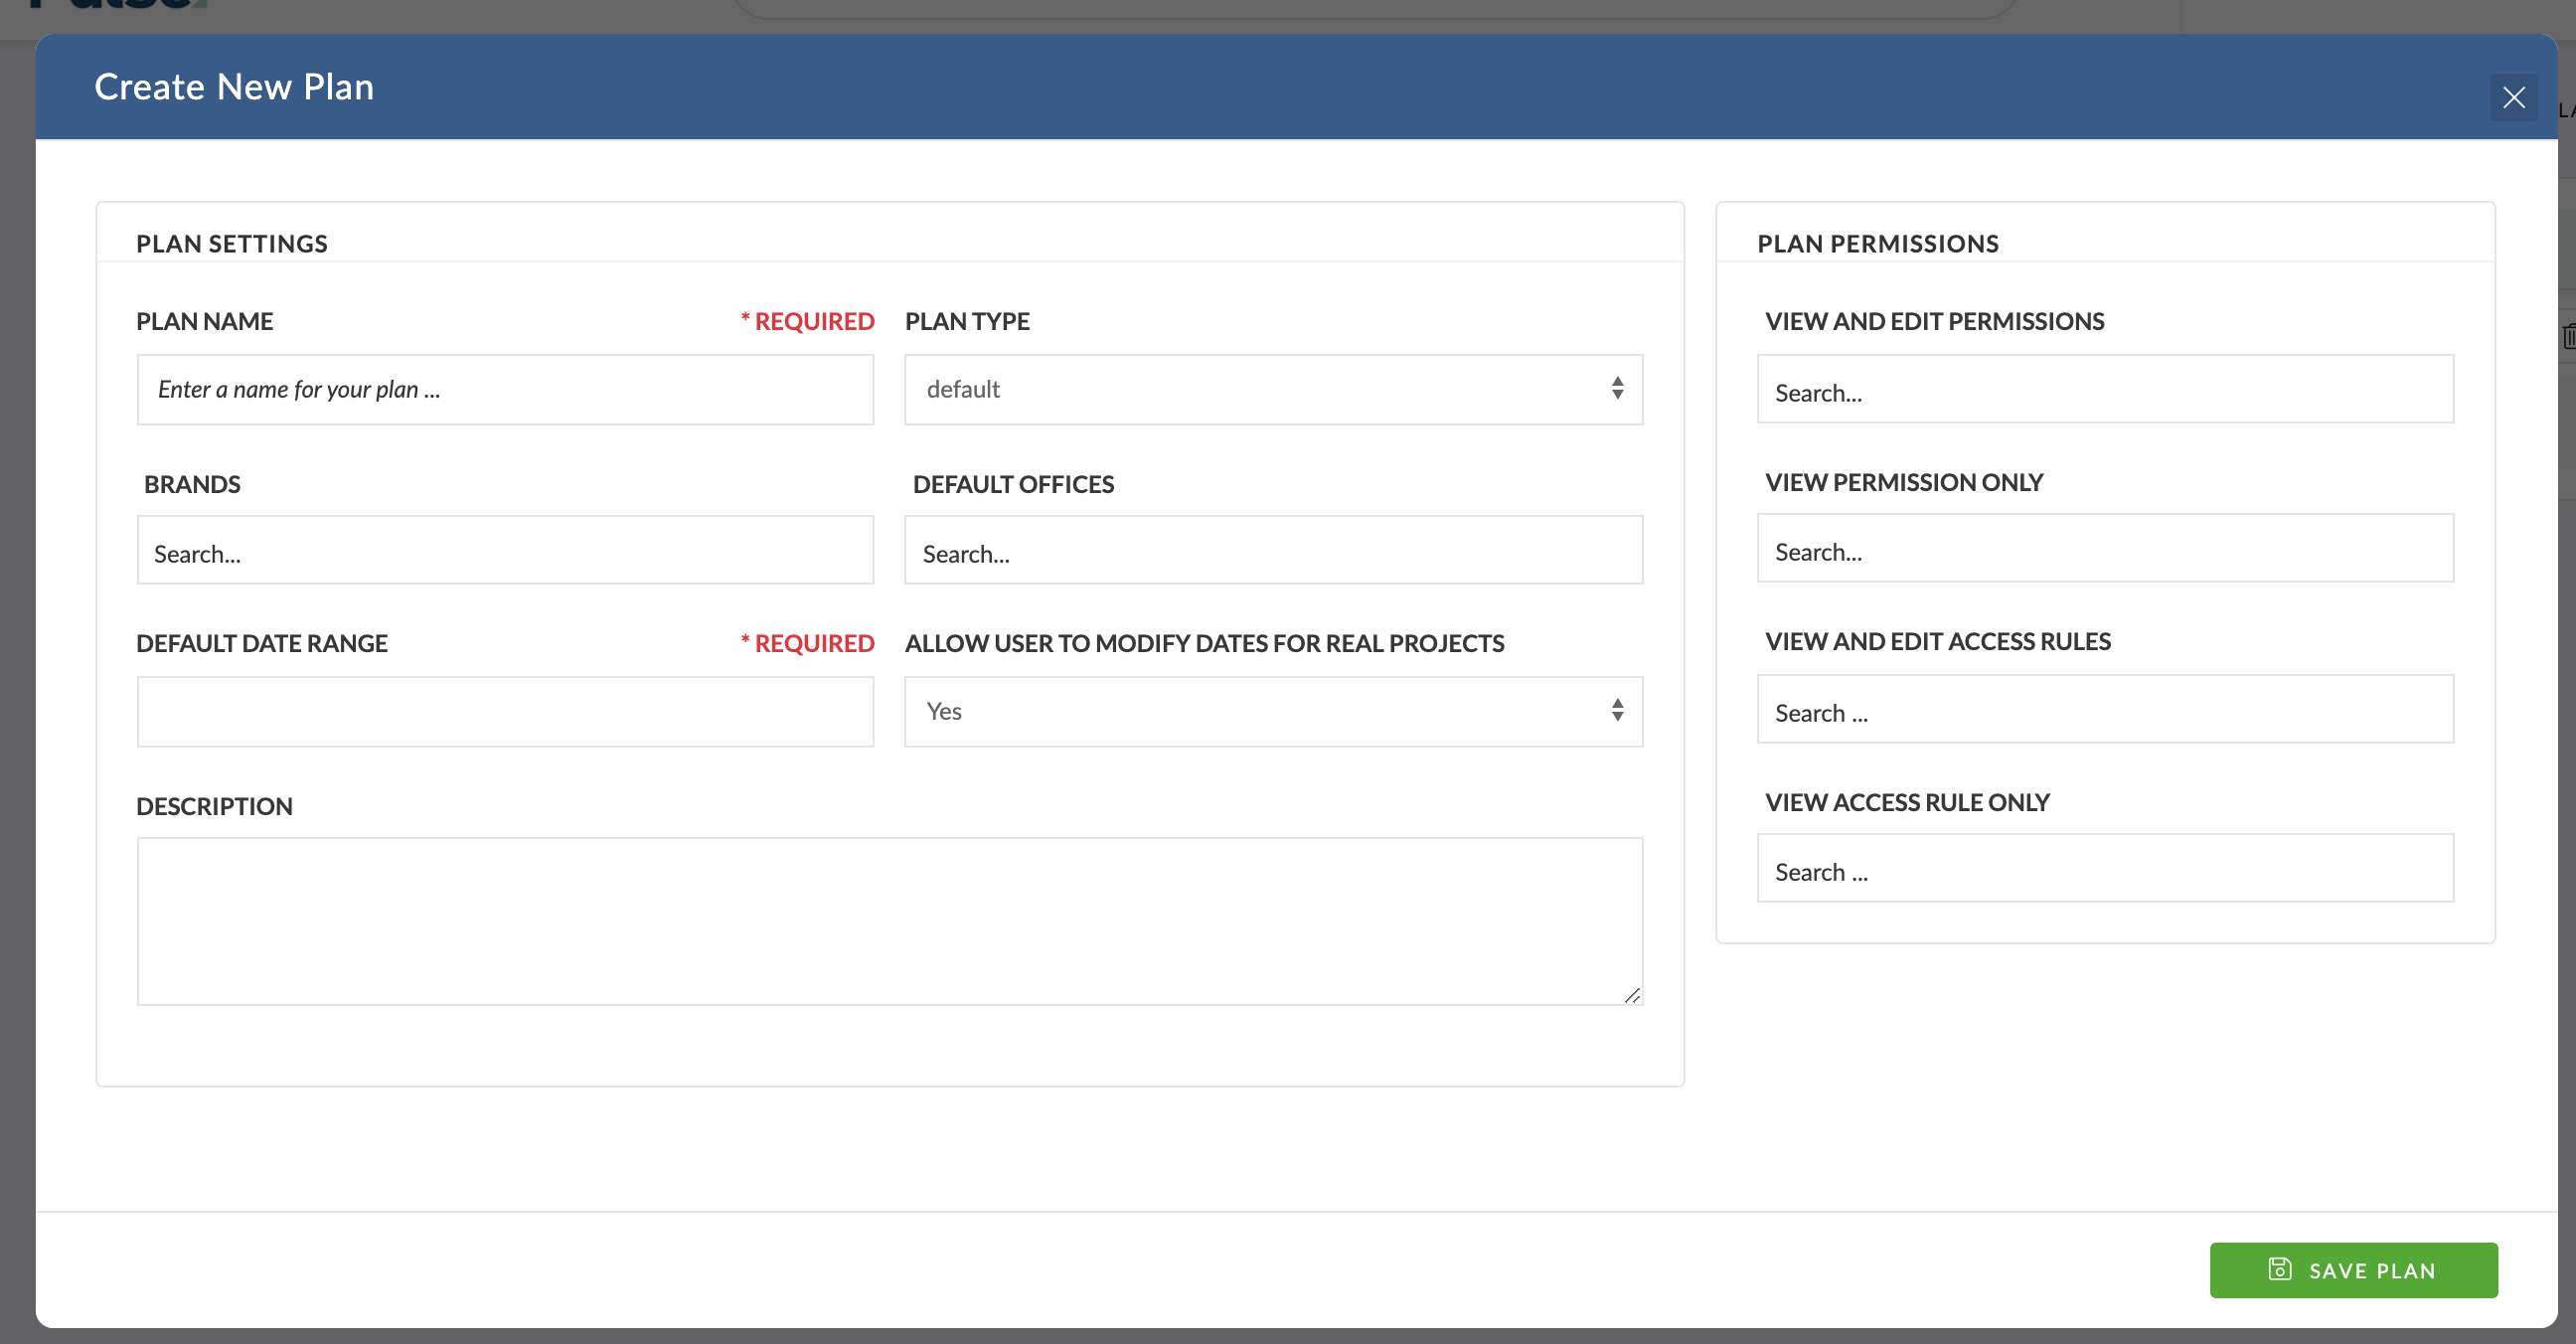
Complete ‘New Plan Form’
In the ‘New Plan Form‘, you choose the following configuration options:
- Plan Name
- This is the name of the Plan shown in the list of Plans and when you preview the Plan
- Plan Type
- The Planner Tool supports different ‘Plan Types’, to allow standardisation of settings.
- You can leave this set to the default option.
- Brands (Products)
- Choosing a Brands (Products) here will limit the Projects that can be added to the Plan to Projects that belong to the chosen Brands.
- If you don’t choose a Brand here, then there will be no Brand limits on what Projects can be added to the Plan.
- Default Offices
- Choosing Offices here will limit the Projects that can be added to the Plan to Projects that belong to the chosen Offices.
- If you don’t choose an Office here, then there will be no Office limits on what Projects can be added to the Plan.
- Default Date Range
- This will control what date range is used to show the plan when the plan is first opened.
- A user viewing the plan will be able to use the filters in the plan to update this date range.
- Allow User to Modify Real Project Dates?
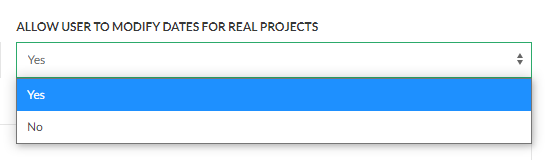
- One of the features of the Planner is the ability to drag-and-drop to change the ‘Planned Dates’ for a Real Project.
- When the ‘Planned Dates’ are updated in a Plan – there is no change to the actual dates for the Projects – the date changes are only updated within the Plan view itself.
- This feature allows the user to experiment and visualise different scenarios for various project dates in the Plan – without affecting the ‘real’ dates associated with the Project.
- If the “Allow User To Modify Dates For Real Projects” is enabled, the dates for real Projects are updated too – otherwise real Project dates cannot be modified.
- However, if you don’t want your users to be able to edit the ‘Planned Dates’ for Real Projects, you can disable this feature for the Plan here.
- Plan Description
- Provide a description of the Plan.
- This description is shown to the users in the ‘Plan List’
- View and Edit Permissions
- Use these controls to manage who can ‘Edit’ the Plan and who can only ‘View’ the Plan.
- You can invite users to Edit and View the Plan on an individual basis – or you can use the ‘Access Rules’ technology to manage Edit and View permissions in Bulk.
Click ‘Save Plan’
When you have completed the configuration of your Plan, click ‘Save Plan‘.
When the Plan is saved, you will be returned to the List of Plans view, and the new Plan will show in the list.
Note: you can come back and ‘Edit Settings‘ for a Plan at any time.