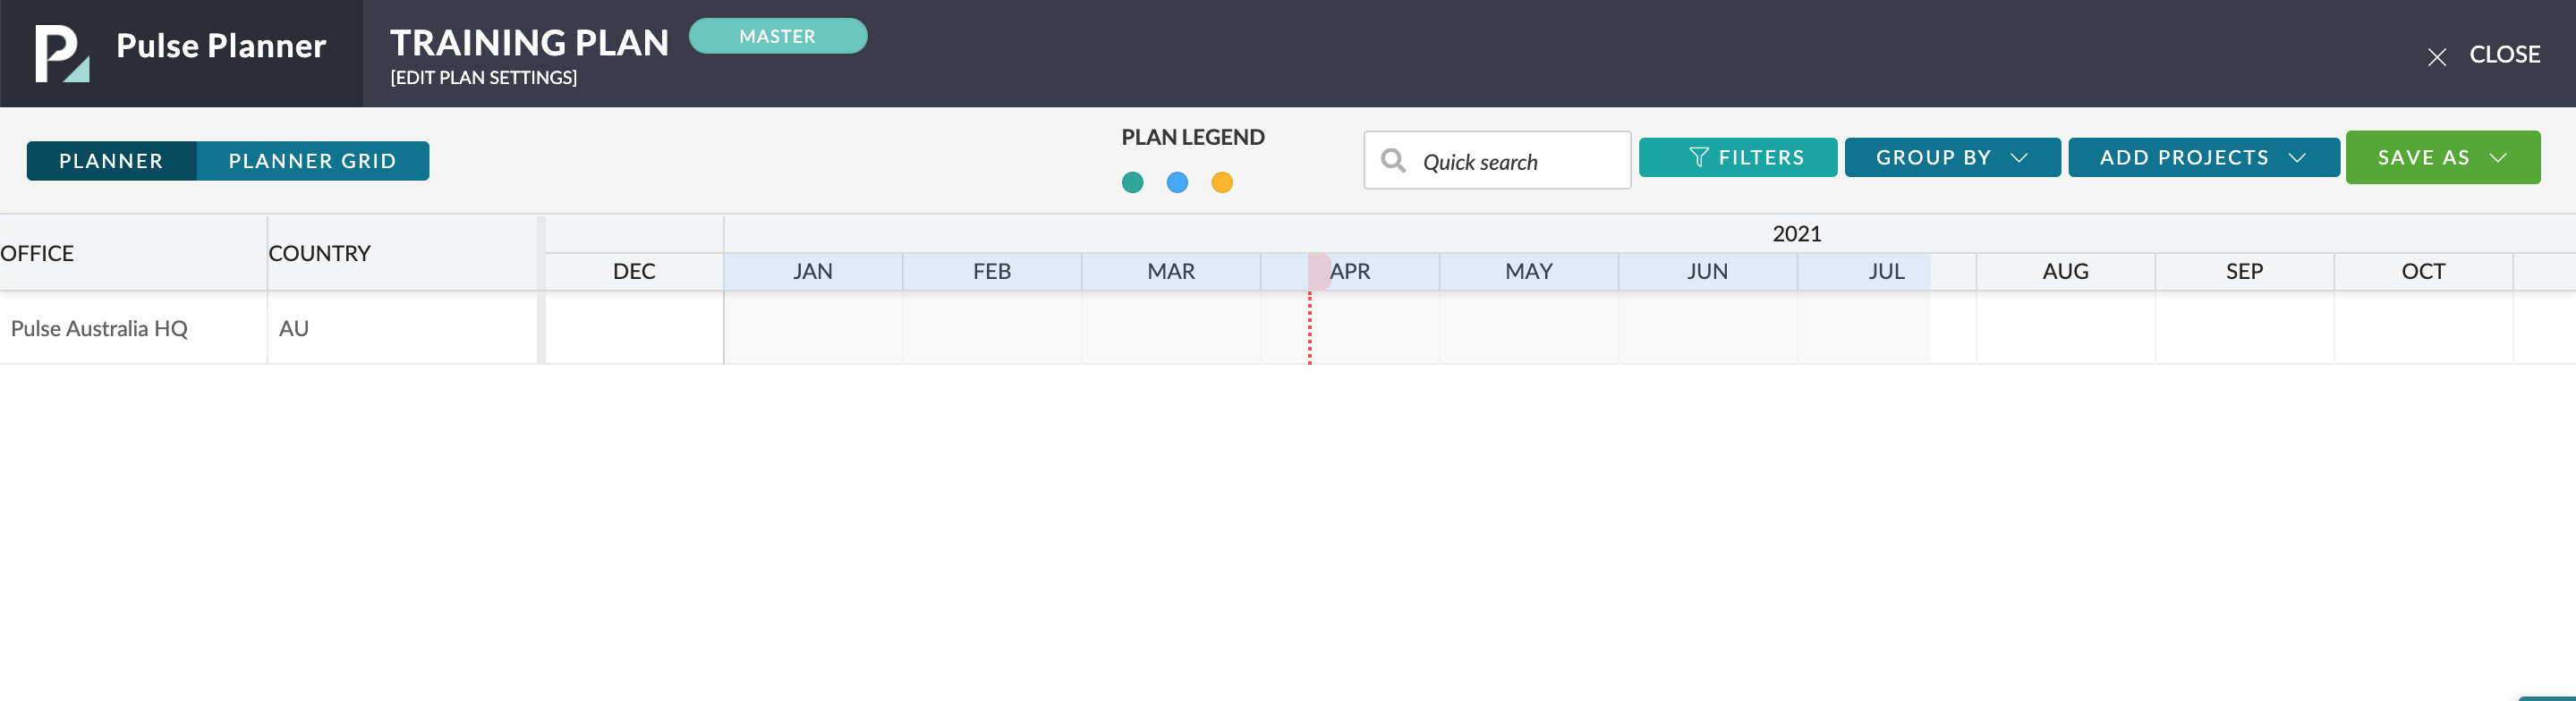
When a Plan is first created, there will be no Projects associated with the Plan. To get started creating your Plan you must click the ‘Add Projects‘ button.
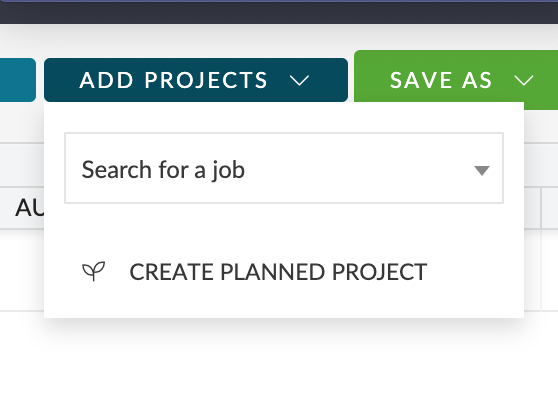
There are three ways to add Projects to a Plan:
- Add an Existing Project
- ‘Drag and drop’ on the Schedule to create a Planned Project
- Use the ‘Create Planned Project’ form
How to add Projects to a Plan:
1) Click ‘Add Projects’
The first step is to click the ‘Add Projects‘ button, at the top-right of the Plan.
(Reminder: You must have ‘Edit Access‘ for the specific Plan to access the ‘Add Projects‘ button).
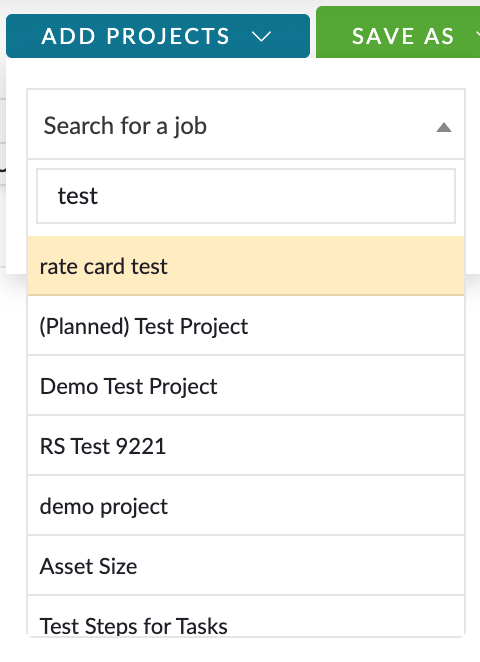
2) “Search for an Existing Project”
The easiest way to add a Project to the Plan is to use the ‘Search for an Existing Project‘ option.
This search field will allow the User to access the normal Projects they would be able to see through the Pulse Project List or Global Search – PLUS – you can search for and add ‘Planned Projects‘ that you have created in any previous Plan (See ‘Create Planned Project‘ below).
Once you select a Project from the search, the Project will be added to the Plan as a ‘Bar’ – with the start and end of the bar representing the ‘Forecast Start and Forecast End‘ date for the Project.
3) “Create Planned Project”
The Pulse Planner tool also lets you add ‘Planned Projects‘ to the Pulse Planner.
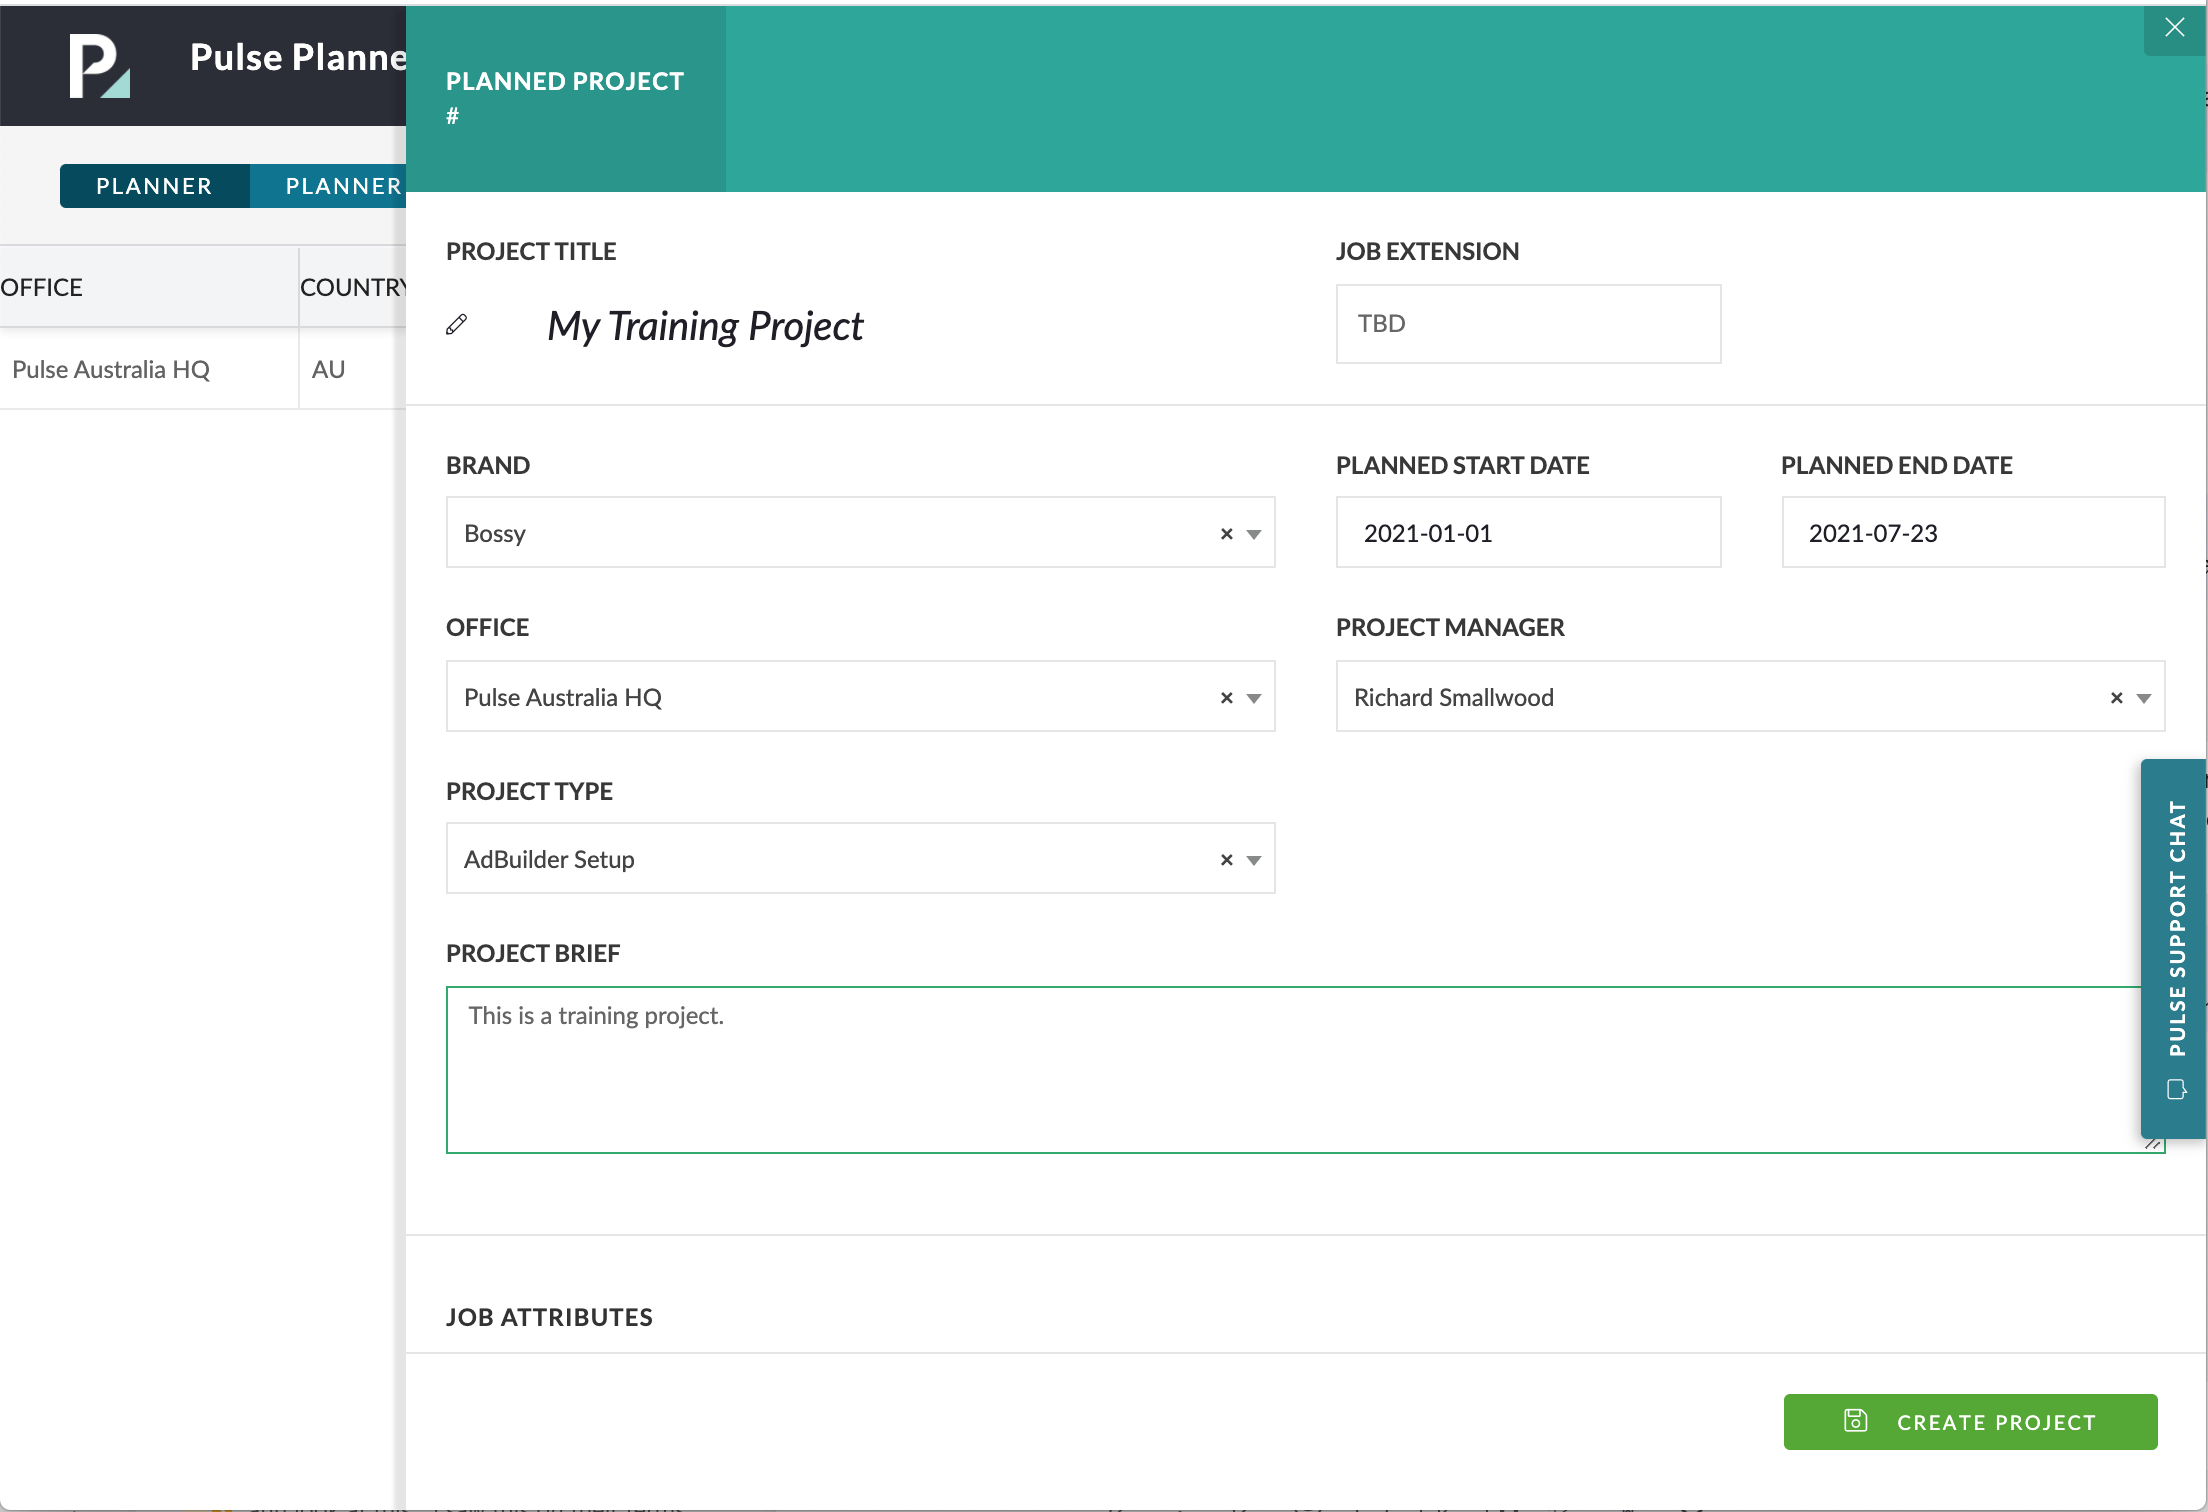
Choose the ‘Create Planned Project‘ option and you will be presented with a simple form to capture the basic information for the Planned Project.
When you complete this form and submit it, the Planned Project will be added to the Plan.
Note: This is not a ‘Real Project‘ at this stage, the Planned Project is only visible in the Pulse Planner tool as a placeholder in the Plan.
4) “Drag and Drop” to create a “Planned Project”
You can also trigger the ‘Create Planned Project‘ form if you ‘click and drag’ on the Plan Schedule view.
This action will trigger the ‘Create Planned Project‘ form as described in step 3 above with the Start and End Date for your Planned Project pre-populated.
When the form loads, you can complete the remaining fields and submit the form to add the Planned Project to your Plan.
Auto-Save
You do not need to click ‘Save‘ when you make changes to the Projects shown in the Plan.
Any changes to Project Timings – or addition of Projects to the Plan are updated instantly.
The ‘Save As‘ button should be used if you want to create a ‘Copy‘ of the Plan – either as a ‘New Master Plan‘ – or as a ‘Version of a Plan‘.