Invitation to Job Builder
To use a Job Builder Form to create Projects, a User must be invited to at least one Job Builder Form.
Once a User is invited to at least one Job Builder, the ‘Job Builder‘ button will appear on the User’s Homepage Dashboard.
Launch Job Builder
From the Homepage Dashboard, click on the ‘Job Builder‘ Button to launch the Job Builder.
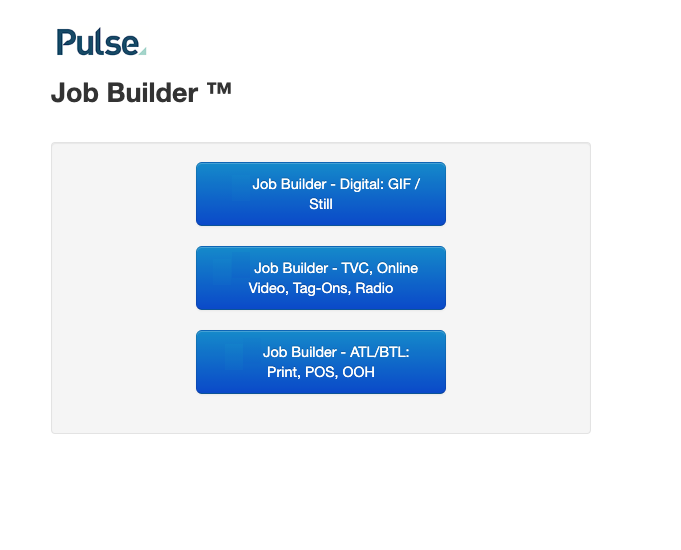
On-Click, the Job Builder will launch in a new window.
A list will be shown, listing the Job Builder Forms available for the User.
Choose the Job Builder that is relevant to the Type of Project you wish to create.
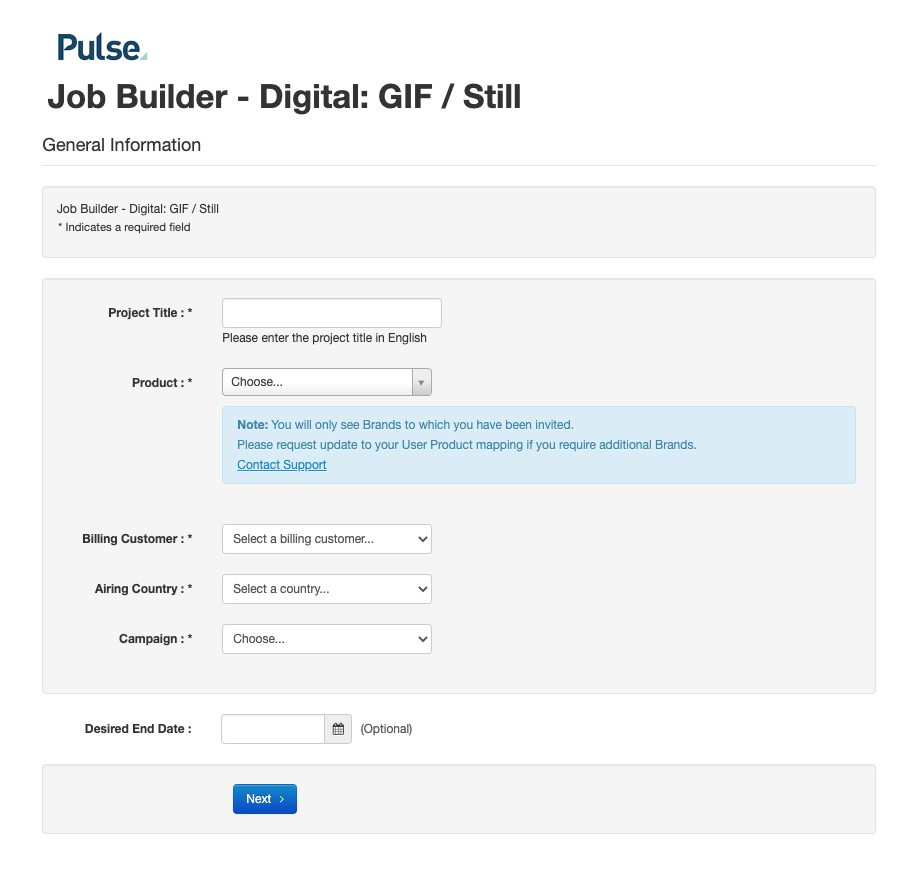
Complete the ‘Job Builder’ Form
Once the Job Builder loads, you can complete the form questions.
Every Job Builder will be different. Some Job Builder forms may require an Upload, some may require Task and User information.
When you have completed all the steps, click ‘Submit‘ and the Job Builder will process and create the new Project.
Project Review Workflow
Note: Job Builder forms can be created with different Project Templates and Workflow requirements.
So when a Job Builder is submitted, it is possible that the Project will go into a Review Stage – and may not be immediately available for Users to access.