Once a Project has been created, it is important to note that many of the settings which were selected in the Project Wizard (or Job Builder) are still available to edit, via the ‘Edit Project Settings‘ page.
Change Project settings after Project Creation
To access the Project Settings:
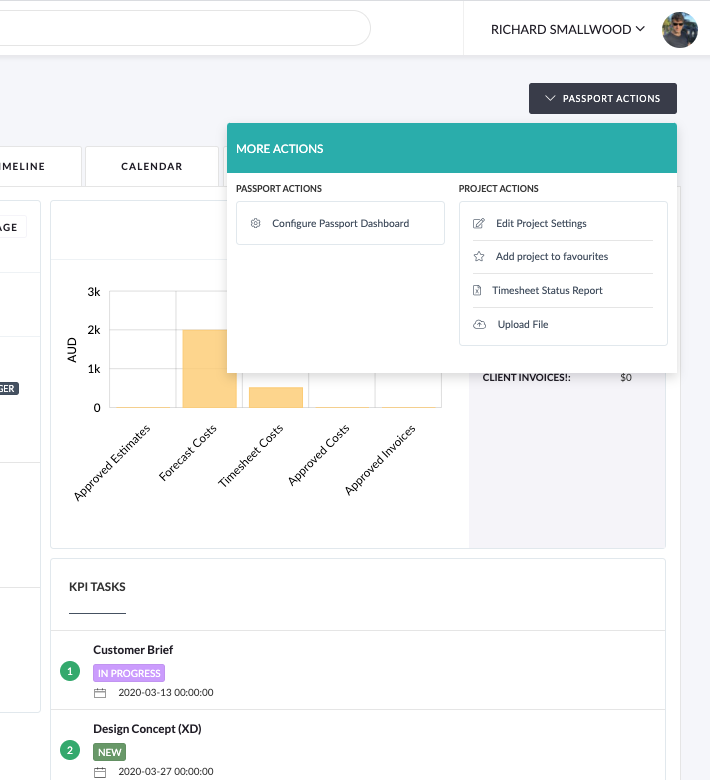
- Go to the ‘Project Dashboard’ for the Project you wish to update.
- From the ‘Project Actions’ button, choose the option for ‘Edit Project Settings’.
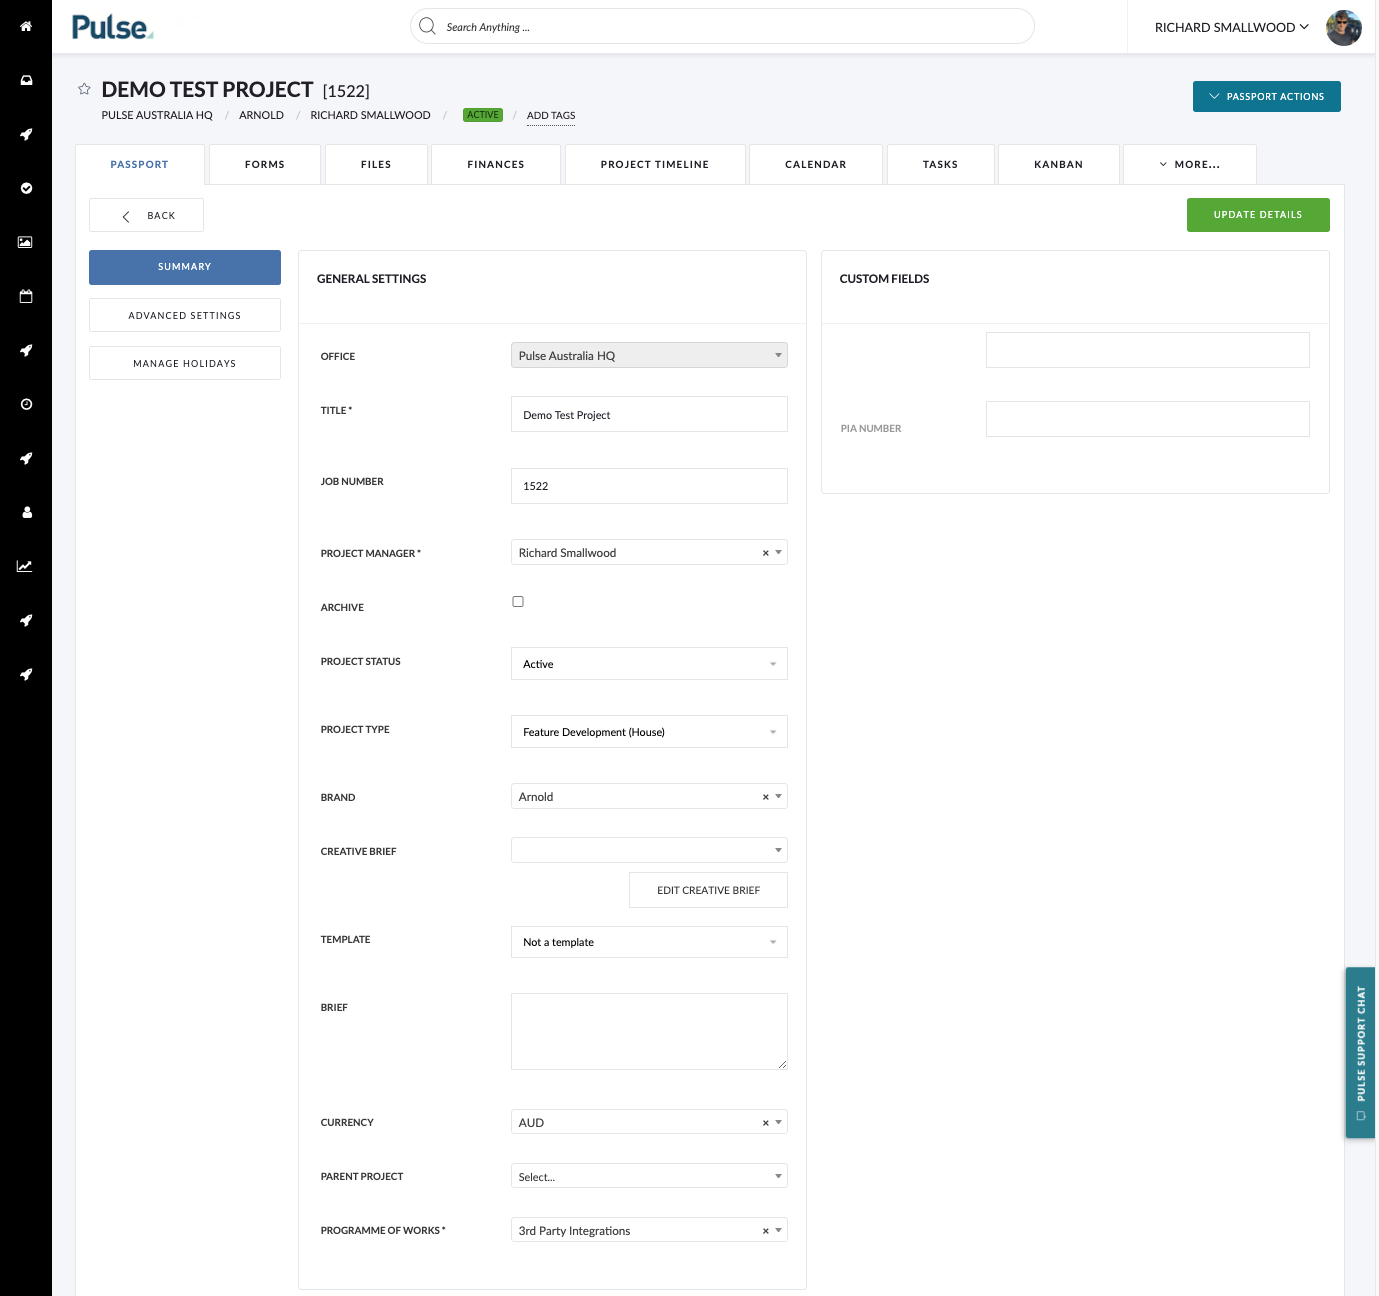
- You will be directed to the page for Project Settings.
Available Project Settings
The settings on this page allow you to update many of the properties of the Project.
Available Settings:
- Office
– What Office does the Project belong to?
– It is common that if a Project already has Documents and Financial materials loaded, it will NOT be possible to update the Office for the Project.
– If you require to move the Project to a New Office – after you have started the Project, you may need to create a New Project in the desired Office, and move the Tasks and Files to the New Project. - Project Title
– This is the Title of the Project, which is used in the Job List, Search and all Project communications to reference to the Project.
– In most cases this can be edited.
– However, if your Office is using our ‘Automated Project Title’ feature, this will not be editable. - Job Number
– The Job Number is a unique Identifier to reference the Project.
– In many Offices the Job Number is automatically generated, and should not be edited.
– However, if the Job Number field shows as an editable field, it is safe to change this value to something which is relevant to your Business and the Project. - Project Manager
– This field indicates who is the Primary Contact for the Project.
– Typically this would be a Project Manager – but in fact the ‘Project Manager’ contact can be any user that has ‘Manage Projects’ Permissions.
– The ‘Project Manager’ for the Project is used as the default contact for automated reminders and notifications for the Project. - Project Status
– This field indicates the status of the Project.
– If the project is being worked, it should be set to ‘Active’. - Project Type
– This field is used for Reporting purposes only.
– You can set the field to best match the nature of your Project.
– You can edit the options available for ‘Project Type’ in the Pulse Admin tool. (Only Pulse Administrators can change the ‘Project Type’. - Brand
– This is the main setting to link the Project to a ‘Brand’.
– A ‘Brand’ is a bit like a Customer or Product.
– The ‘Brand’ field is used for Reporting purposes. - Template
– Use this setting if you wish to define your Project as a ‘Template’ that can be used by others when creating New Projects via the Project Wizard.
– The default is “Not a Template”.
– You can set a Project as a Template, and then ‘Un-Set’ the Template setting, and it will NOT affect the current Project, or any Projects created from the Template. - Brief
– This is a Free-Text field you can use to describe your Project.
– The text written here will show on in the ‘Project Details’ widget, which is by default enabled on the Project Dashboard.
– This can be handy to describe your Project to other Team Members. - Currency
– Define the default currency for the Project.
– This only affects the default currency used in the Project for Reporting and creating new Finance documents
– Changes to this field will NOT affect the value of any of the Finance Documents linked to the Project. - Parent Project
– In some configurations of Pulse, it is possible to link projects together via a ‘Parent Project’ setting.
– This is used only for Reporting. - Project Attributes
– Pulse has a ‘custom field’ technology called ‘Project Attributes’
– A Pulse System Administrator can setup ‘Project Attributes’ for your Office and Brands
– Project Attributes are essentially custom Meta Data fields that can be used to add information to Reports and improve how you organize your projects.