Key Features
You can share files internally or externally with the Share for Review feature.
- You can access this feature for any file in a Project‘s Files tab or in the Mine (aka DAM or Asset Library).
- You can share a file with an individual (Pulse User or any email address) or with a group of users (an existing Pulse User Group).
- Sharing a file creates a “Public URL” for a limited period of time.
- A notification email is sent to notify recipients containing a link to the shared file’s ‘Public URL’.
- The ability for recipients to download the shared file can be granted, otherwise, the file can only be viewed on the Public URL.
- Recipients can Comment on the shared file or use the Sticky Notes Review tool to annotate the file with notes.
- When files are shared with Approval Required, Recipients can either Approve or Request a Change with their Comments.
1. Find the file or image you want to share
In the Project Files tab:
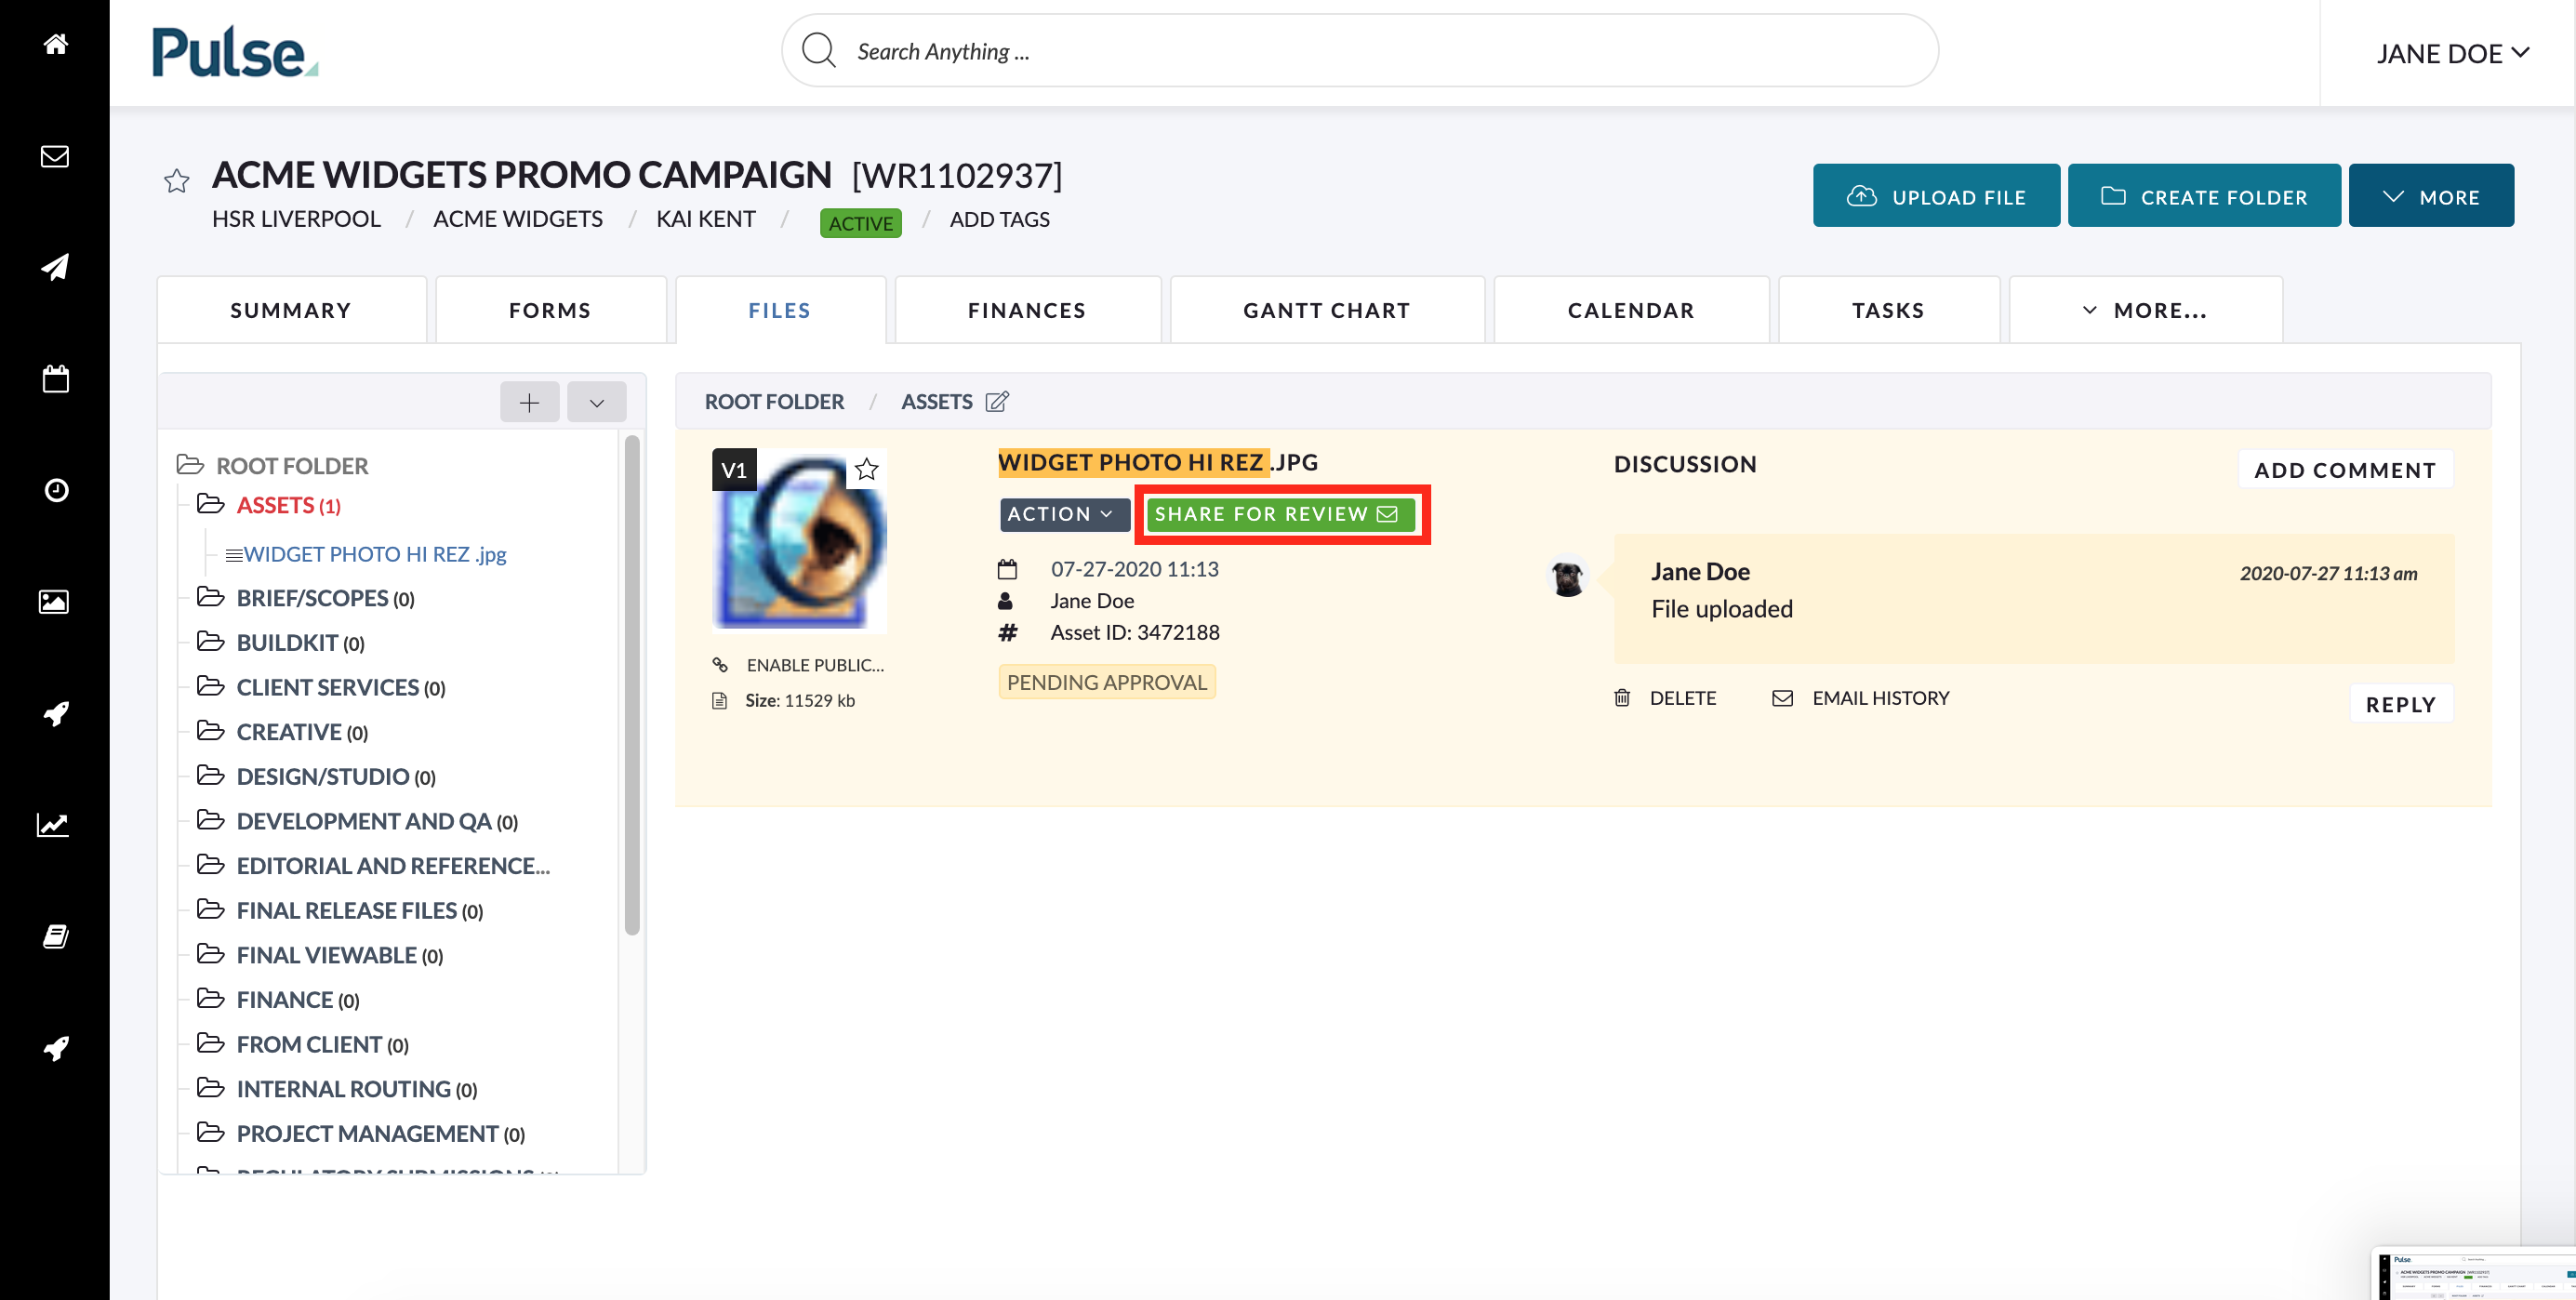
Go to your Project, click the Files tab and find the file or image you want to share by clicking on the relevant folder
In the Mine (Asset Library):
Go to The Mine, click the file or image you want to share to open the preview modal.
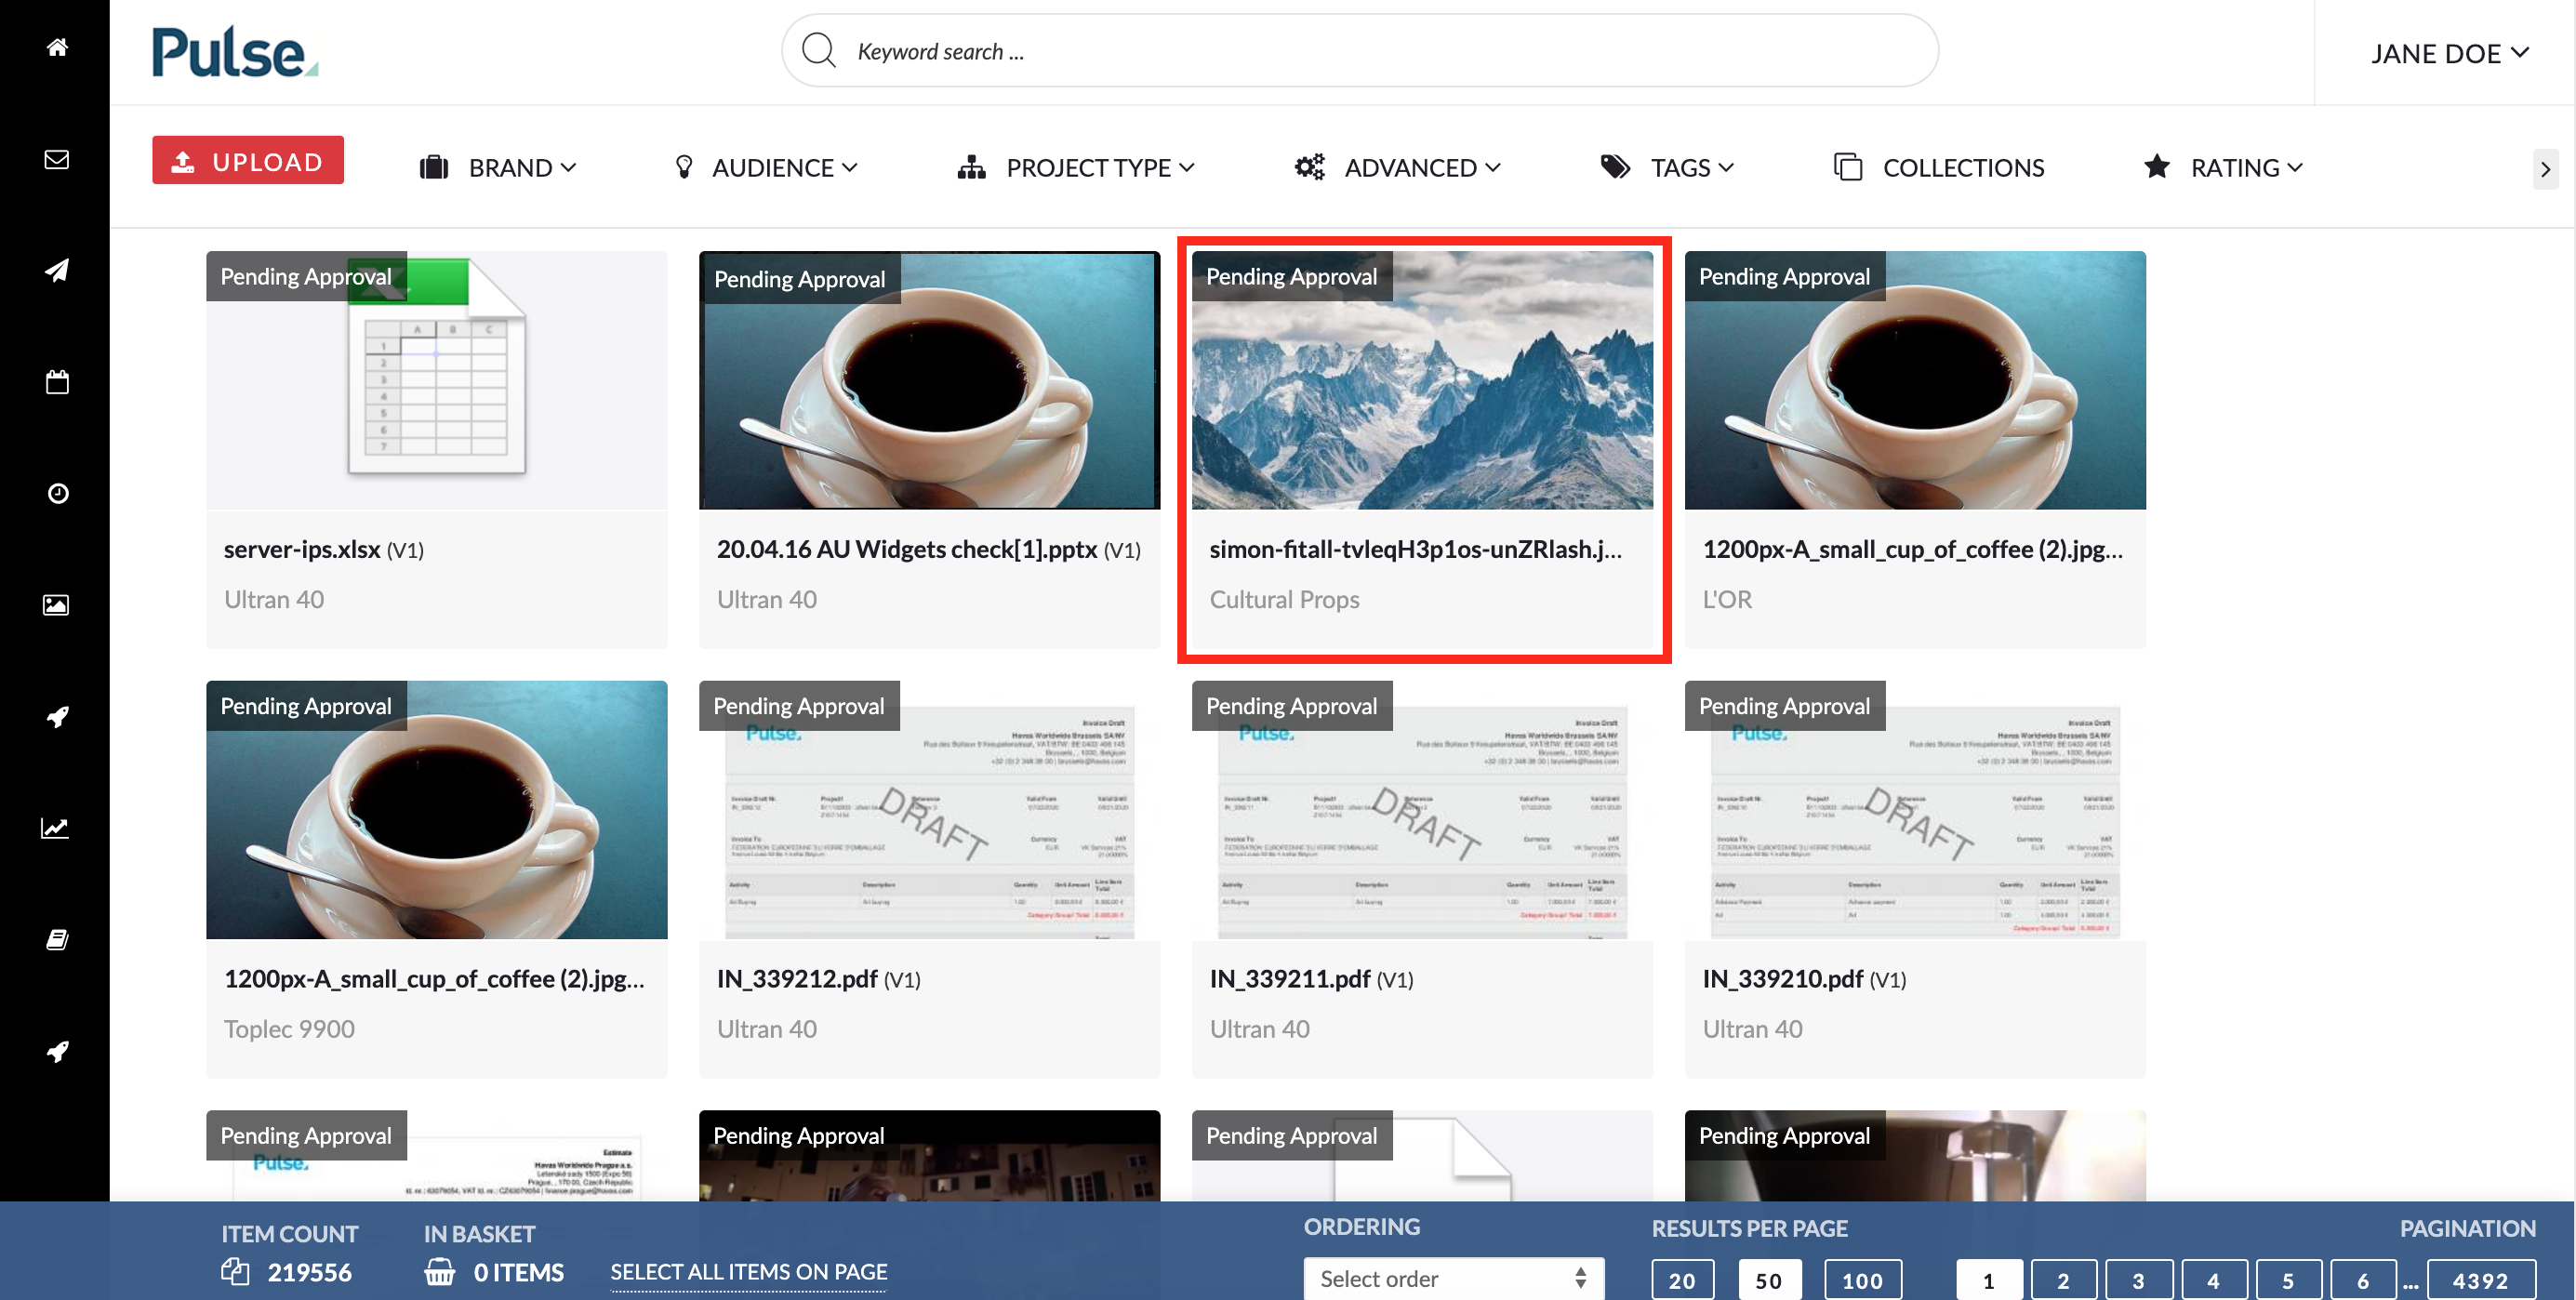
Click the “Share for review” button.

2. Click Share for Review
Clicking the Share for Review button will open the Share for review pop up.
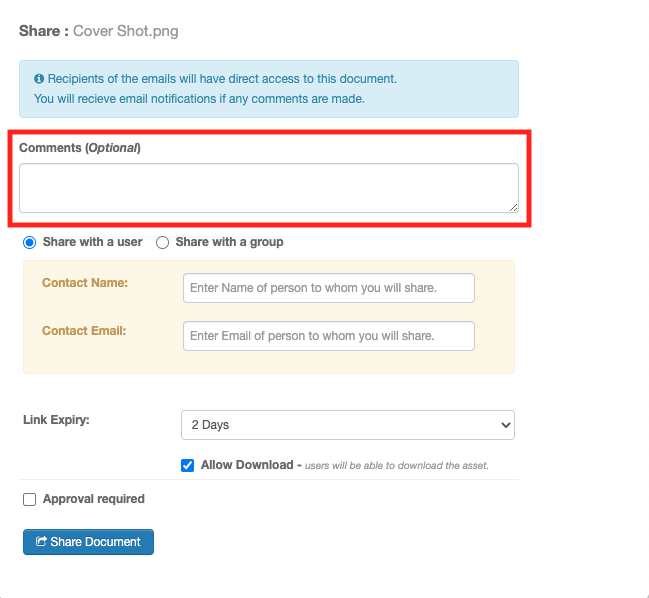
3. Add an optional comment
The file can be shared with an initial comment. Recipients will be able to respond to this comment with their own comments and replies.
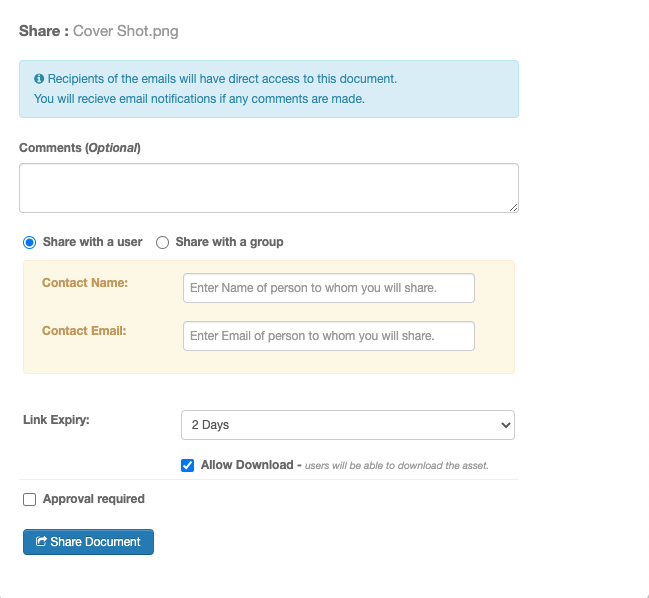
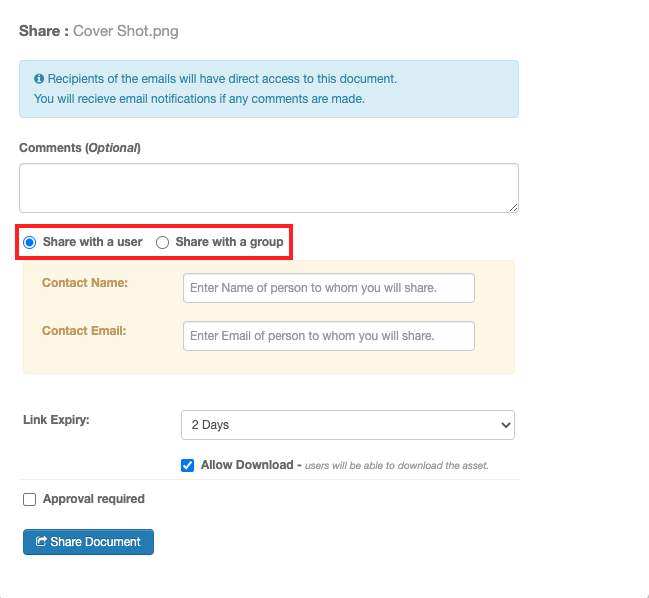
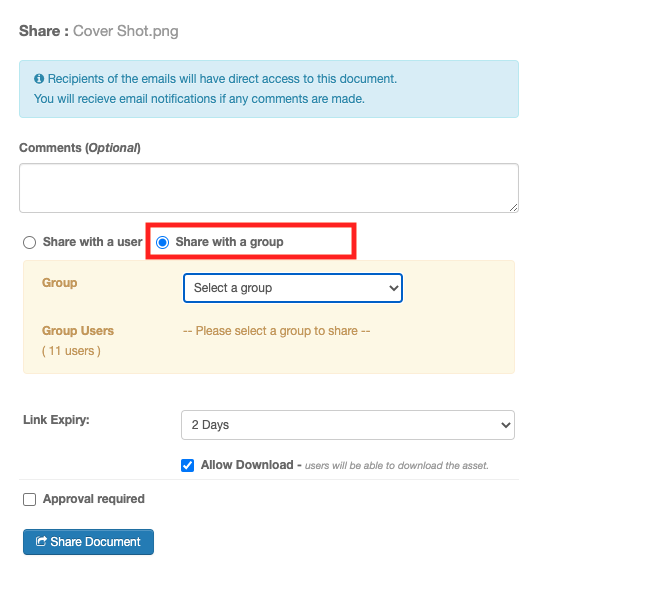
4. Click ‘Share with user’ or ‘Share with a group’
You can either share with a single individual (Pulse User or any email address) or with a pre-defined Pulse User Group.
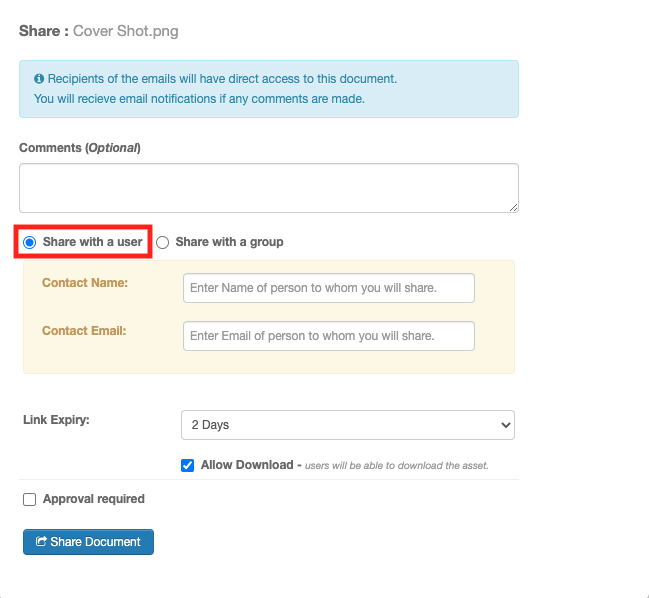
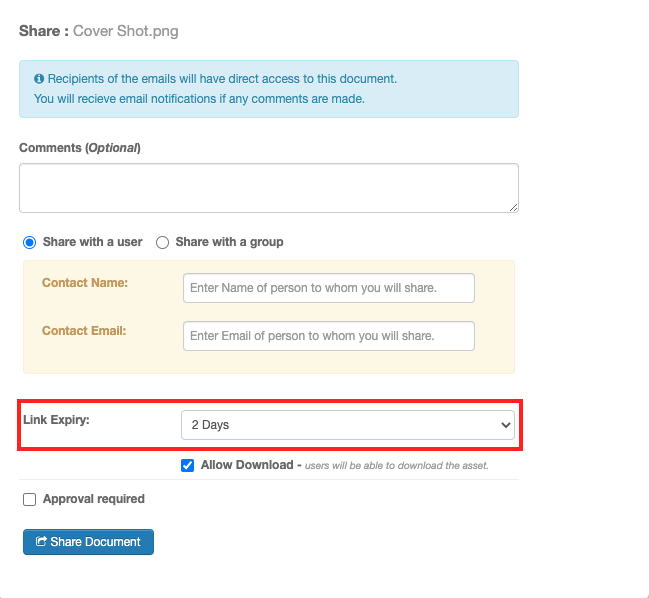
Share with a user:
Select the ‘Share with user’ option.
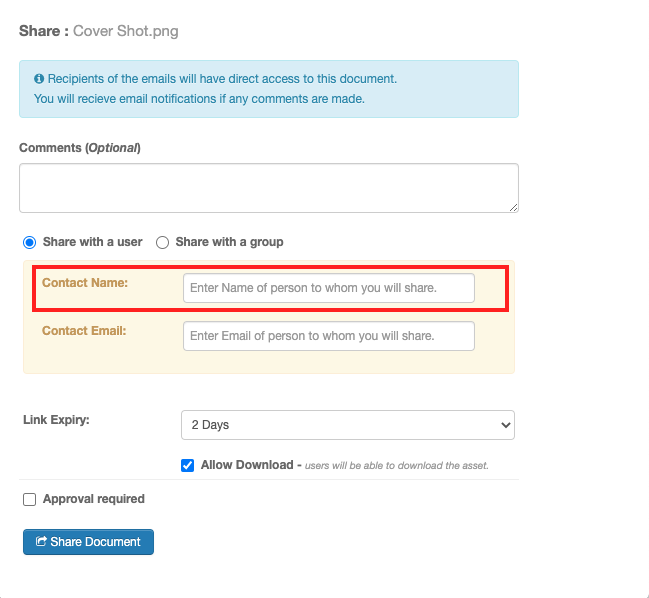
Enter the User’s name. If the user is a Pulse User their name will show up to select – but don’t worry If nothing shows up.
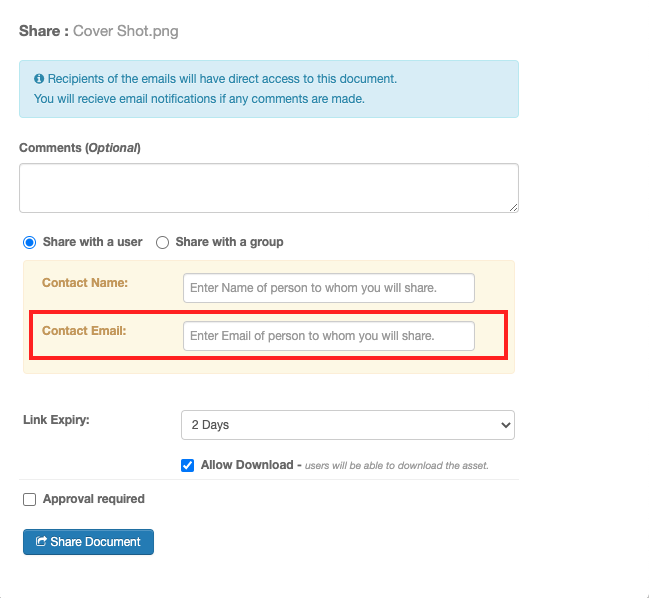
Enter the User’s email.
Share with a group:
Select the ‘Share with group’ option.
Select a existing Pulse User Group to share with:
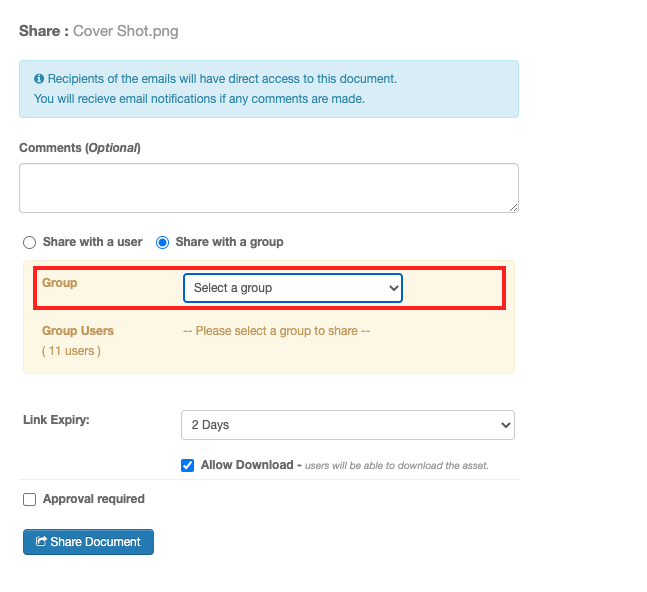
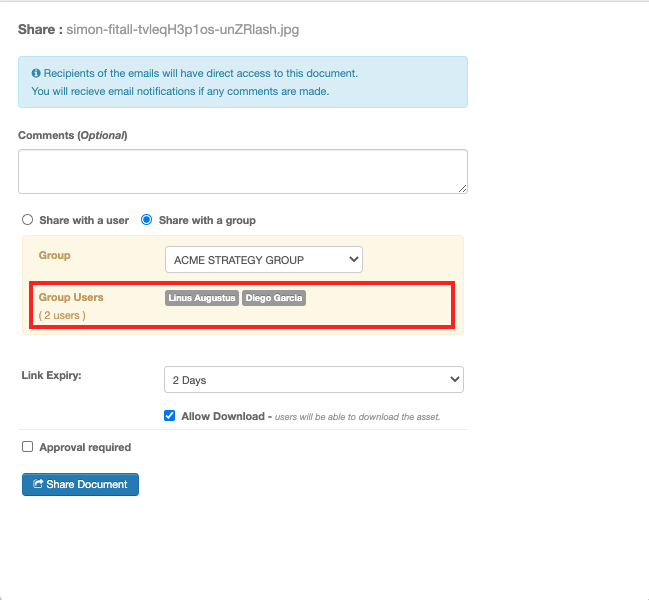
Once a group is selected you will be shown a preview of the Pulse Users who are members of this group.
5. Modify the Link Expiry time
If you want to change the time until this link expires, select an alternative value from the Link Expiry dropdown. The default expiry time is 2 days. This can be increased to up to 6 weeks.
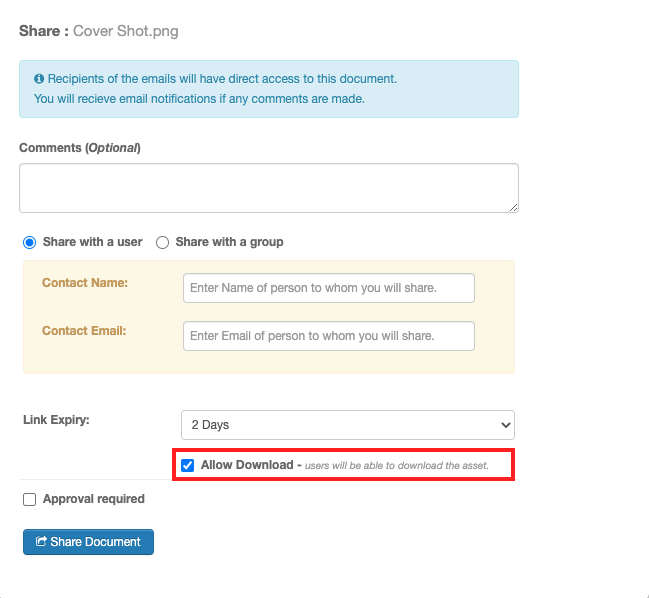
6. Allow optional Download
Tick the “Allow Download” checkbox if you want to allow users to be able to download the file.
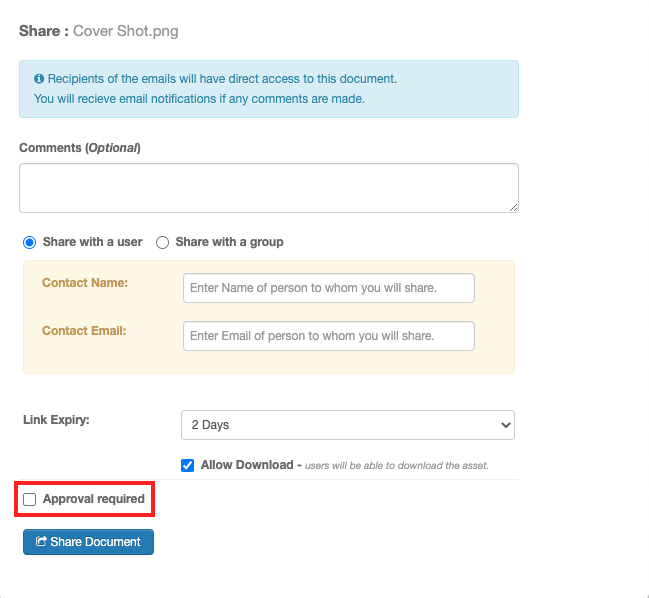
7. Require Approval option
Tick the checkbox if you require approval from the recipients to whom you are sharing the file.
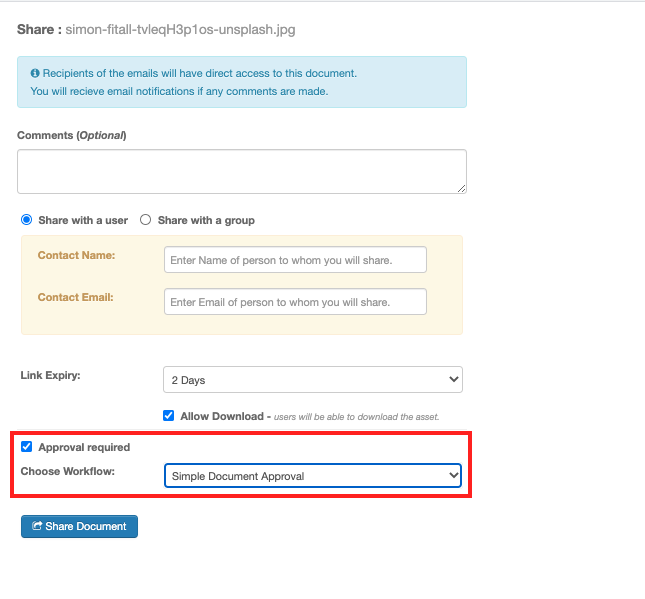
Checking the “Approval Required” checkbox will reveal the “Choose Workflow” drop-down listing the available workflows.
8. Click “Share Document”
After you click “Share Document” email(s) will be sent to the recipient(s) you have invited and the pop-up will reload to indicate that you have successfully shared the file. It will also show you the public link that has been sent to the recipients.
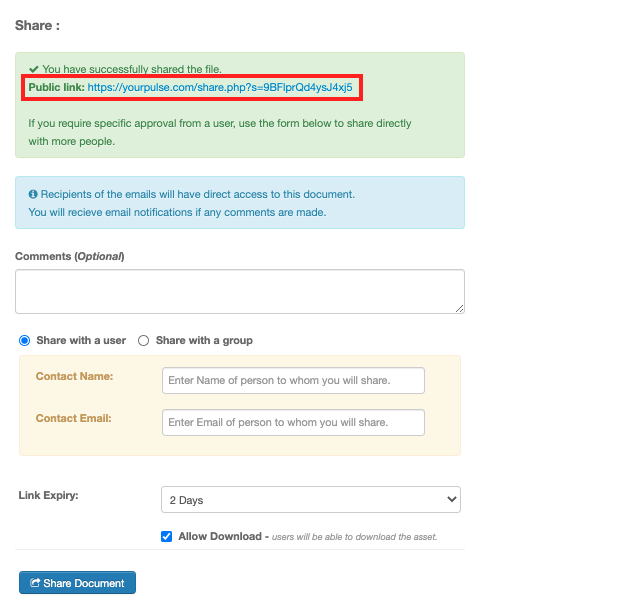
Clicking this link will take to the public url that the recipients will visit to review the file.
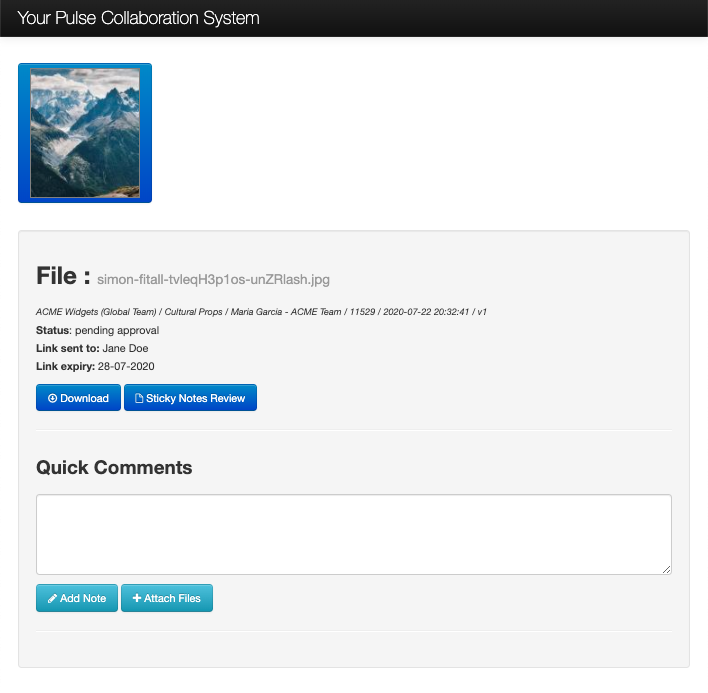
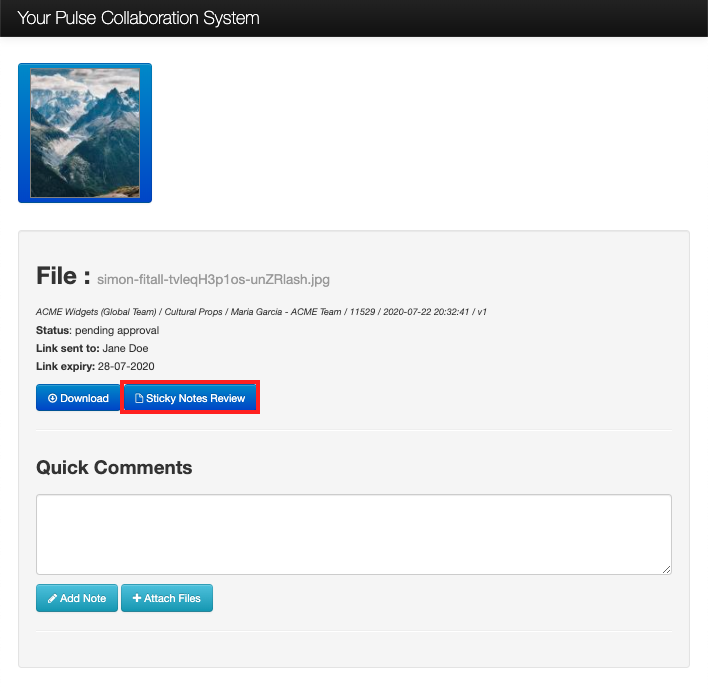
On this page recipients can use the Sticky Notes tool to add annotations to the file:
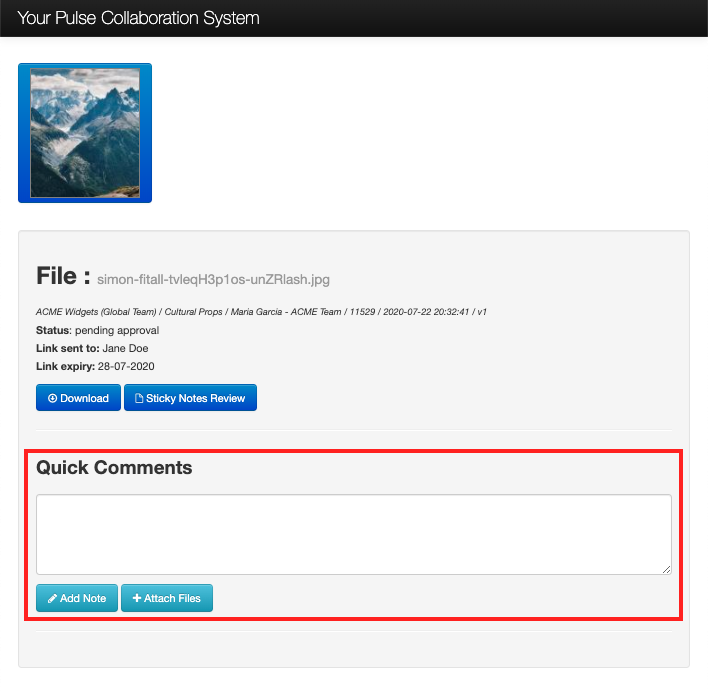
Or they can use the Quick Comments section to Add Notes or Attach Files to the shared file. The user who is sharing the file will receive email notifications if any comments are made.
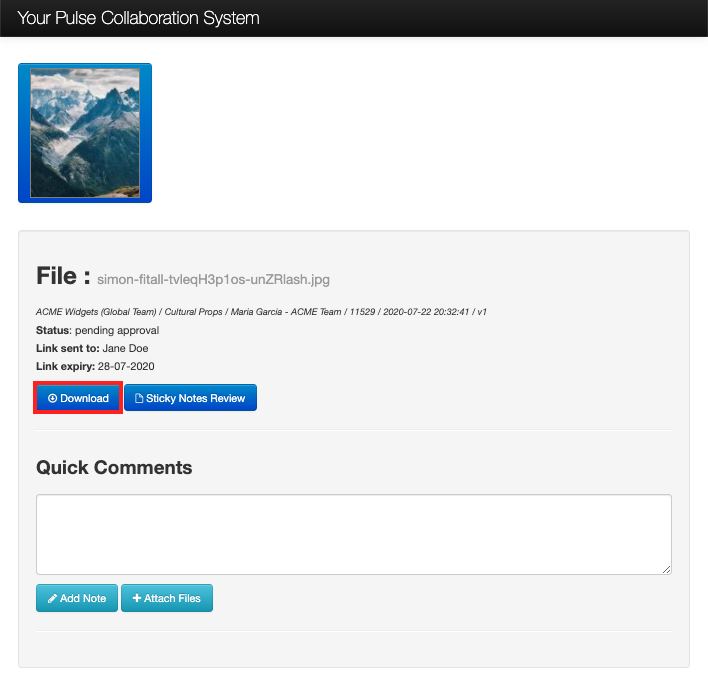
If you have selected the “Allow Download” option the user will be shown a Download button. If you do not select “Allow download”, the file can only be viewed on this Public URL.
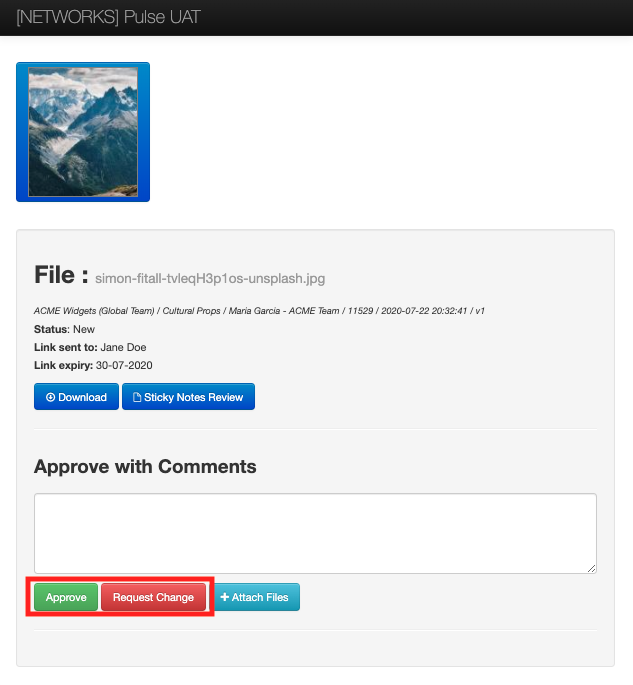
If you have selected the “Require Approval” option the recipient will see two buttons in the place of the “Add Note” button: “Approve” and “Request Change“.
KB.45118