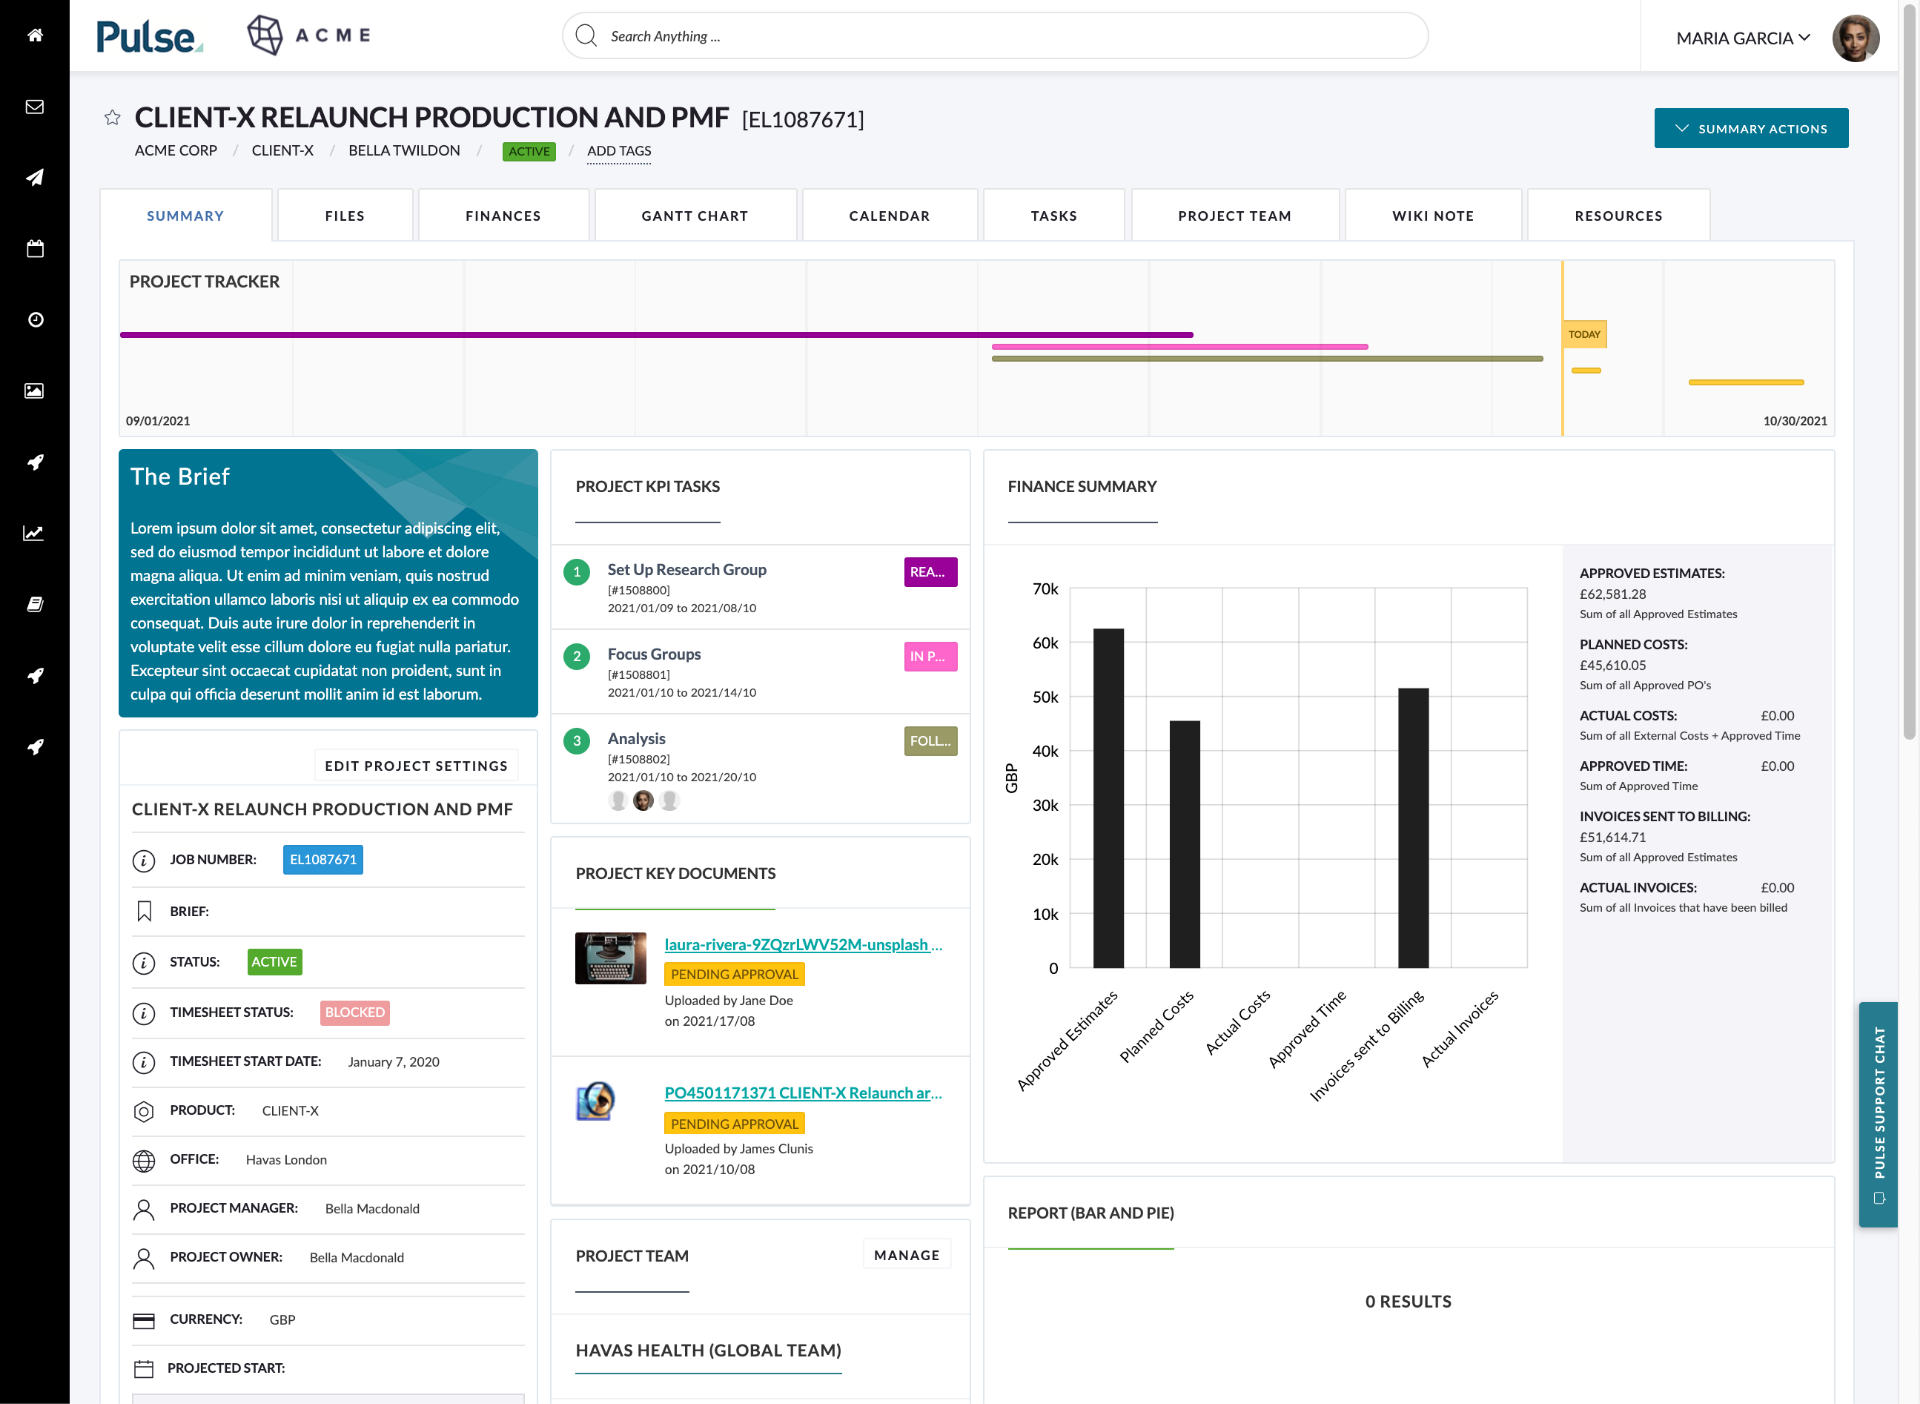
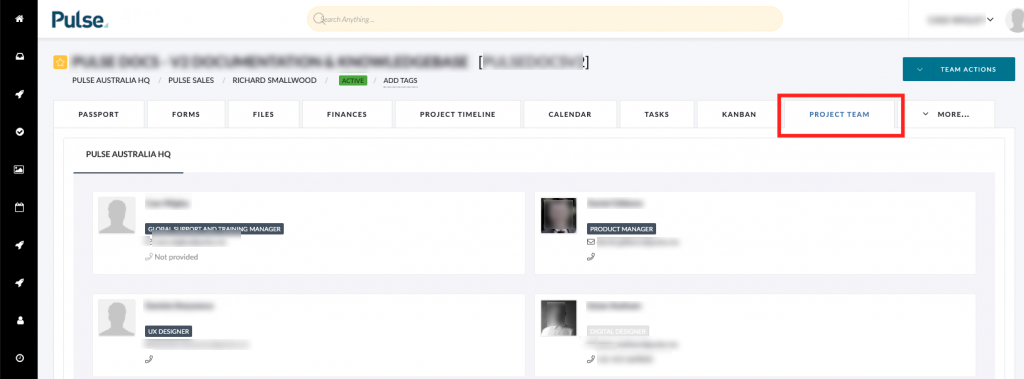
The Project Team tab is used to control who is ‘invited’ to a project: who can see and has access to this project.
Note: To invite users to projects you must have a specific User Profile. This is usually a Project Manager or Operations user that has “Manage Users” permission. This is managed in the Address Book, it is not managed at the project level.
Navigate to the Manage User Access modal
To add or remove team members to a project:
Option 1- From the Project Passport Page
Option 2- From the Project Team tab using the Team Actions dropdown.
Hover over the Team Actions to activate the drop-down list:
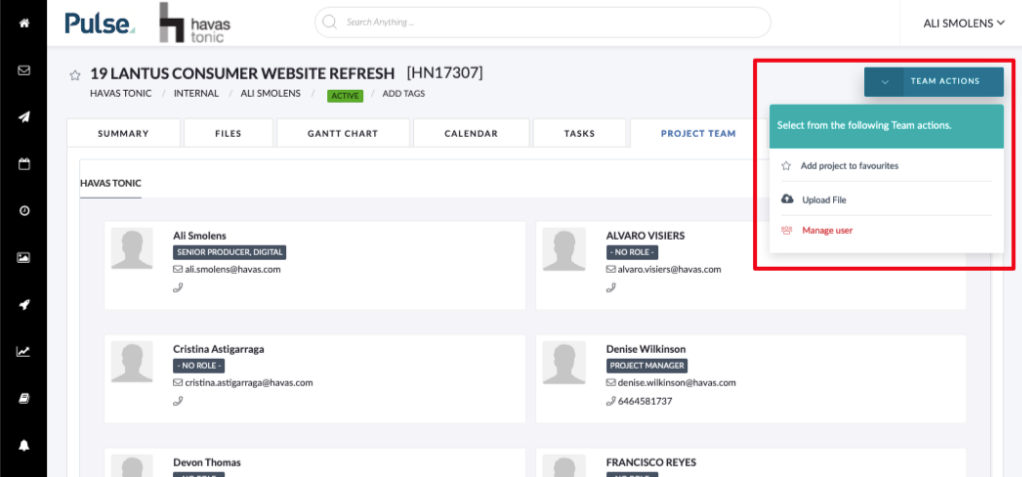
Click the last option “Manage User“.
2. Invite Users to the Project
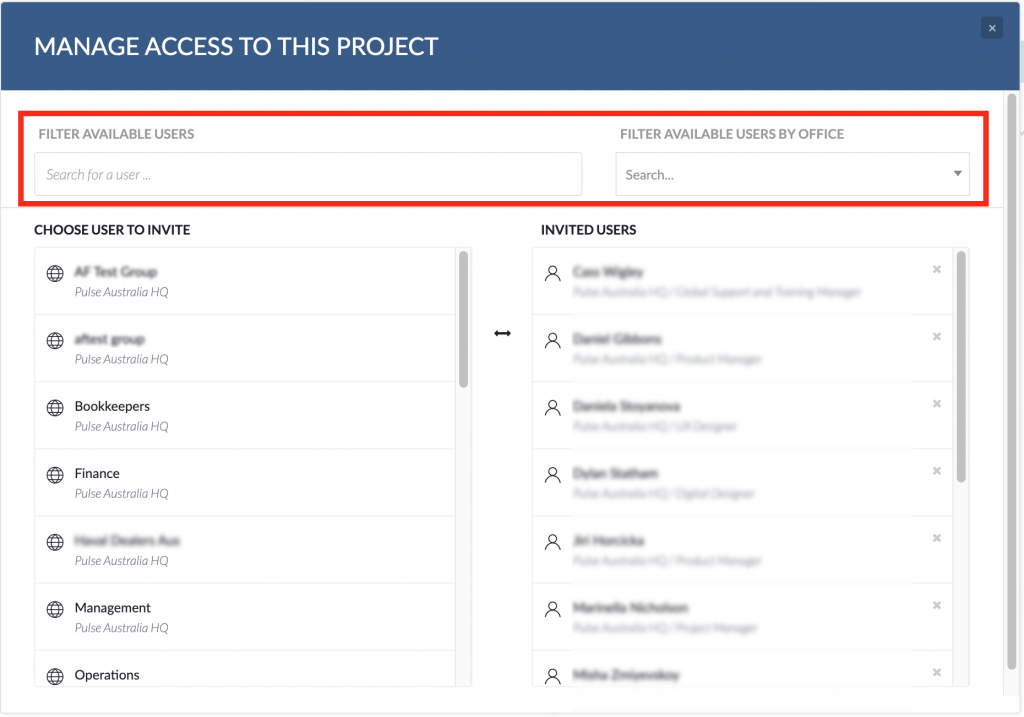
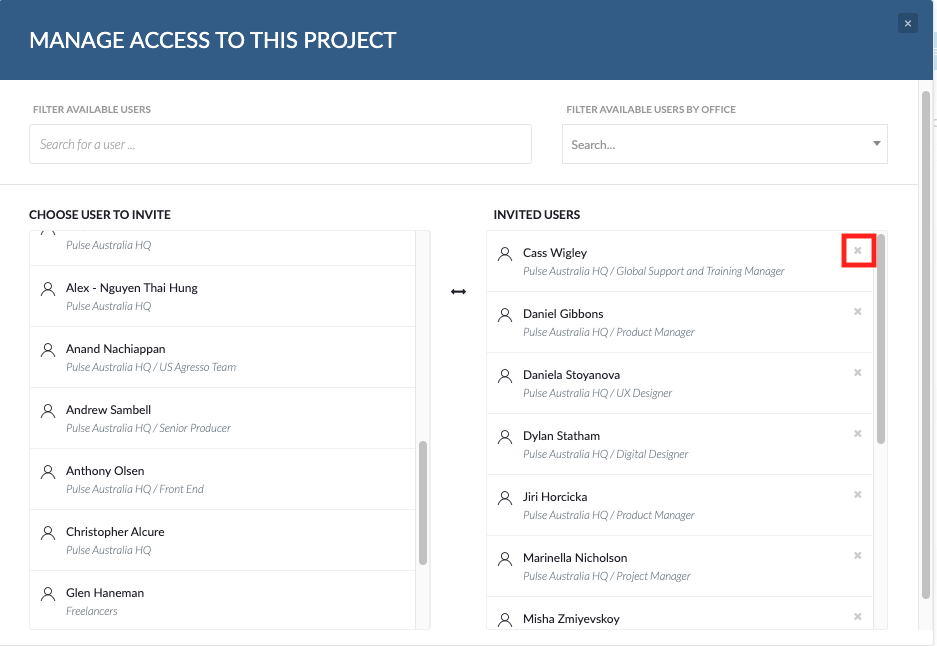
The Manage User button will open a pop-up that allows you to choose Users to invite to the current project:
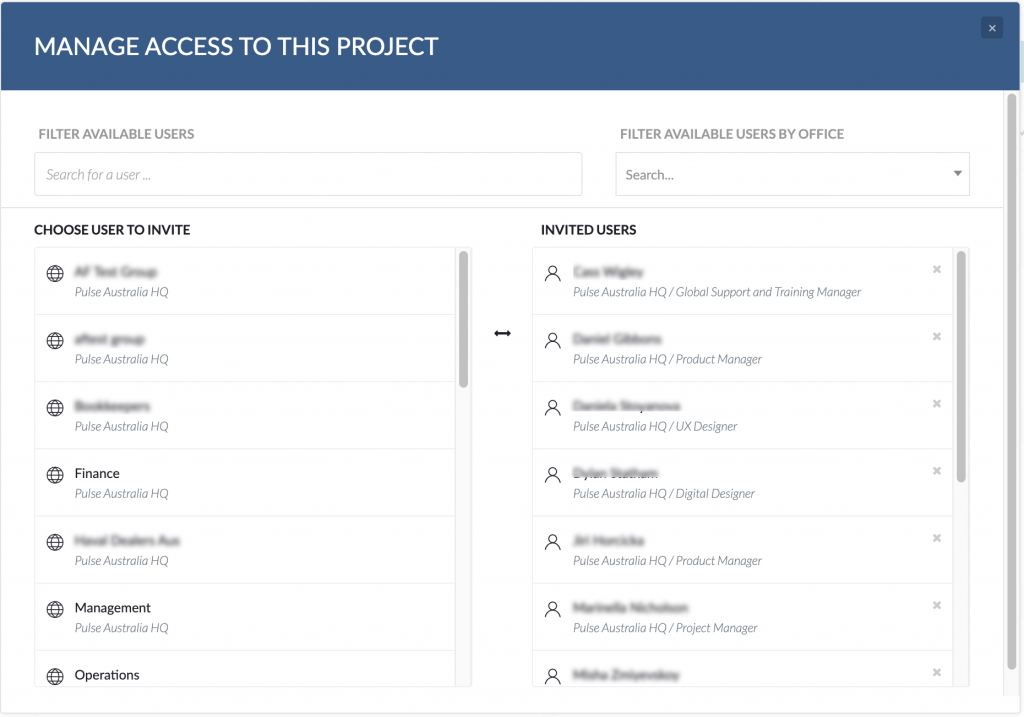
You can Filter the list of Users by Username or User Groups and/or Filter by Office:
Here you can select either User Groups,
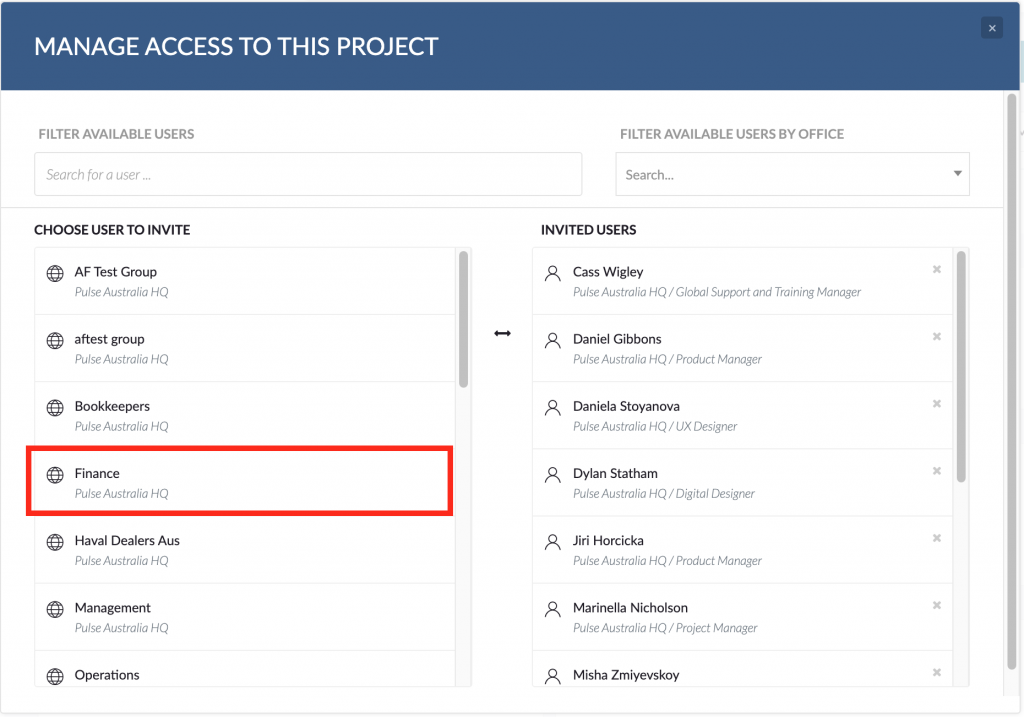
or individual Users:
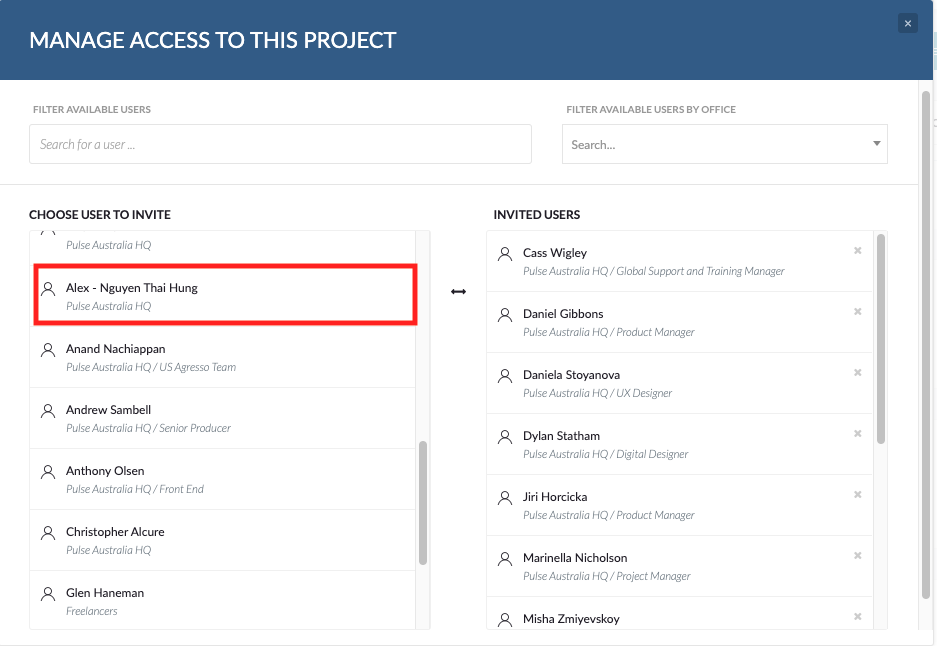
Click on the user you want to invite:
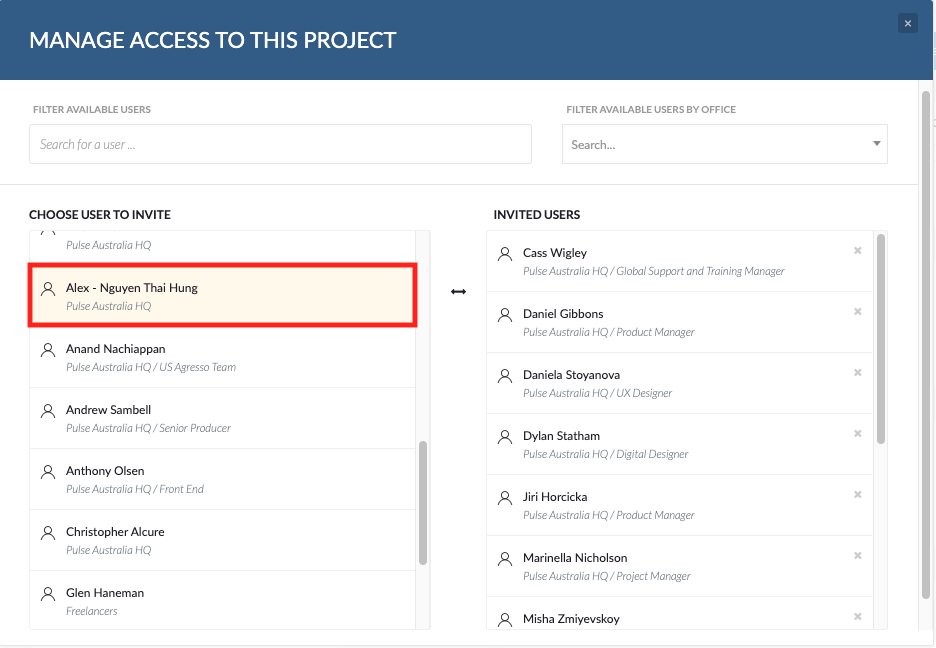
Note Project invitation changes set in this tool are instant. Users do not need to logout/login for changes to apply to their invited projects.

3. Uninvite a User from Project
KB.43506